Automatic Trash Bin
For my final project, I plan to make an automatic trash bin which flips open when a person is near the trash bin using a ultrasonic sensor, with a design of Calcifer for the lid; one of the characters in an animation movie called "Howl's Moving Castle". I would like to have the bin light up after the trash has been thrown and the lid closed.
Research
Here are the references I have used for this project; the first one being the main one while the other is less referenced:
- How To Make An Automatic Object Sensing Smart Dustbin - DIY Project
For the lights, I plan on using two neopixel strips that would light up after the lid of the trash bin has closed. These will be placed on the inside of the trash bin.
Rough Sketch
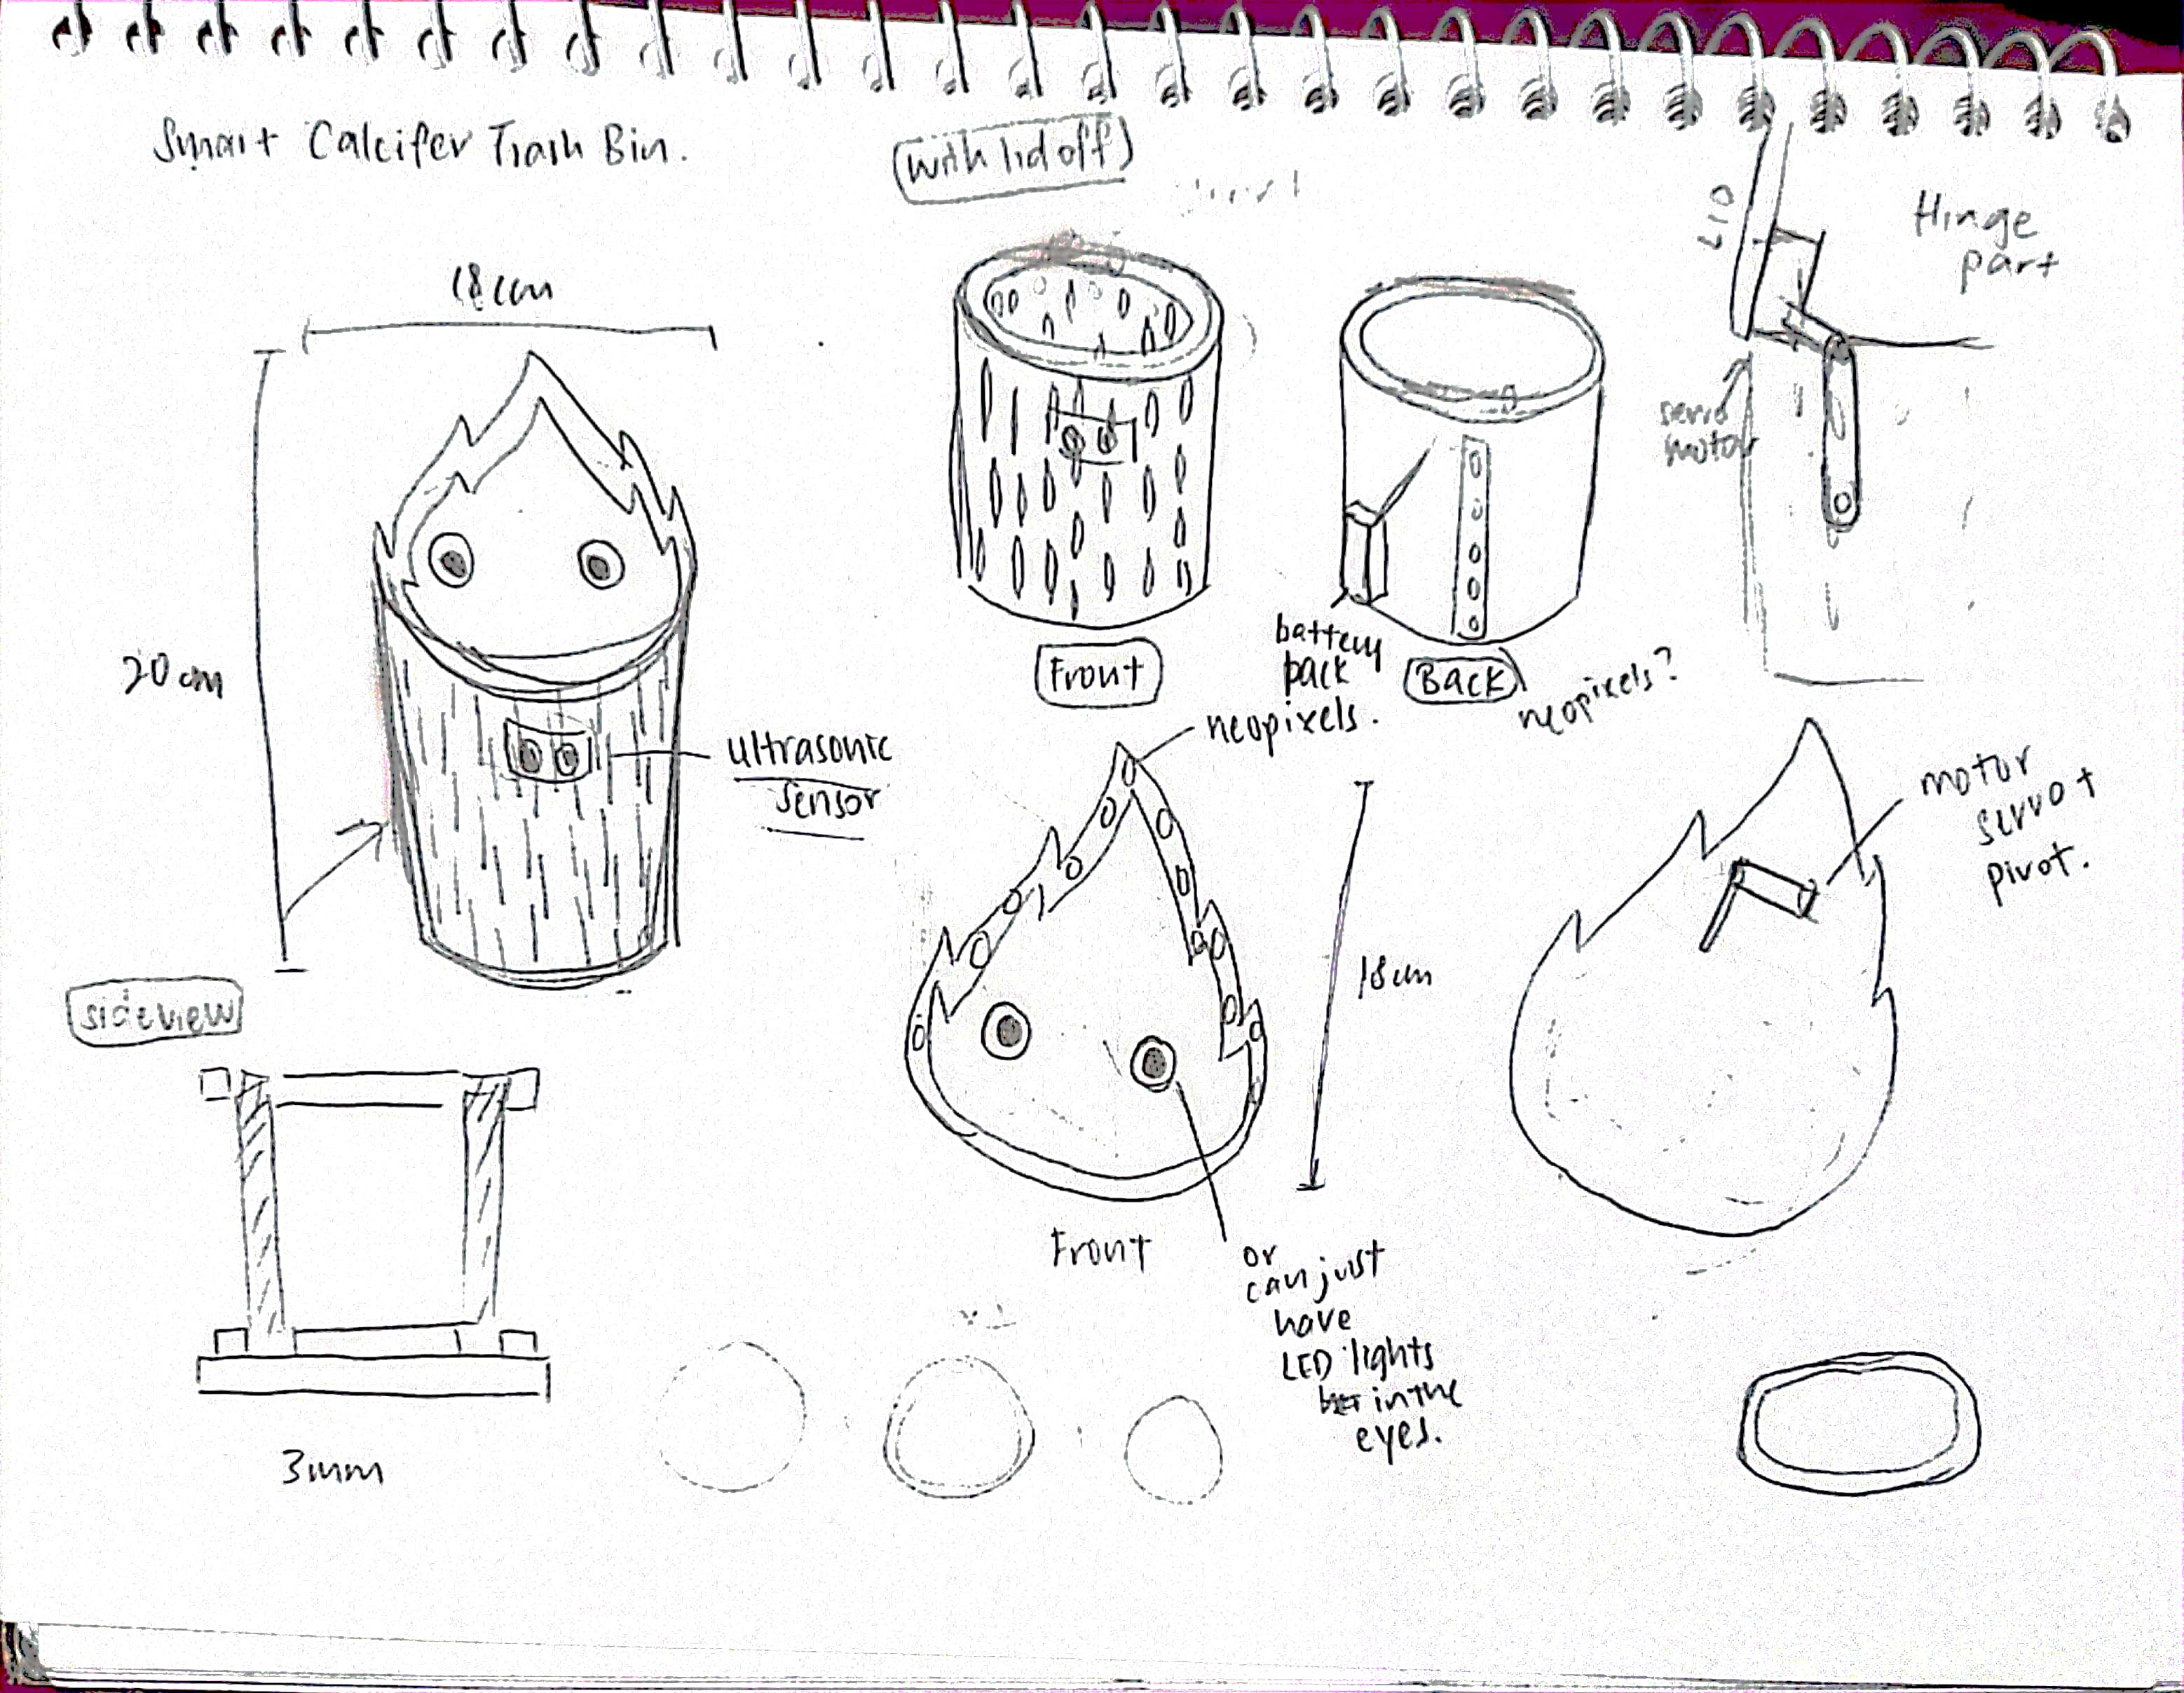
Here is what the final prototype will look like, note that the measurements and specifications might change along the way.

Here are a list of the components and materials I will be using:
Process: Lasercutting the Base, Cover Lid and Body
Using the User Parameters, I set out fixed values for each of the dimensions such as the width, height and length of each component. I also set such values for the finger joints so that it is easier for me to change the value whenever I want. For my prototype, I set the thickeness to 5mm but 3mm is also thick enough.
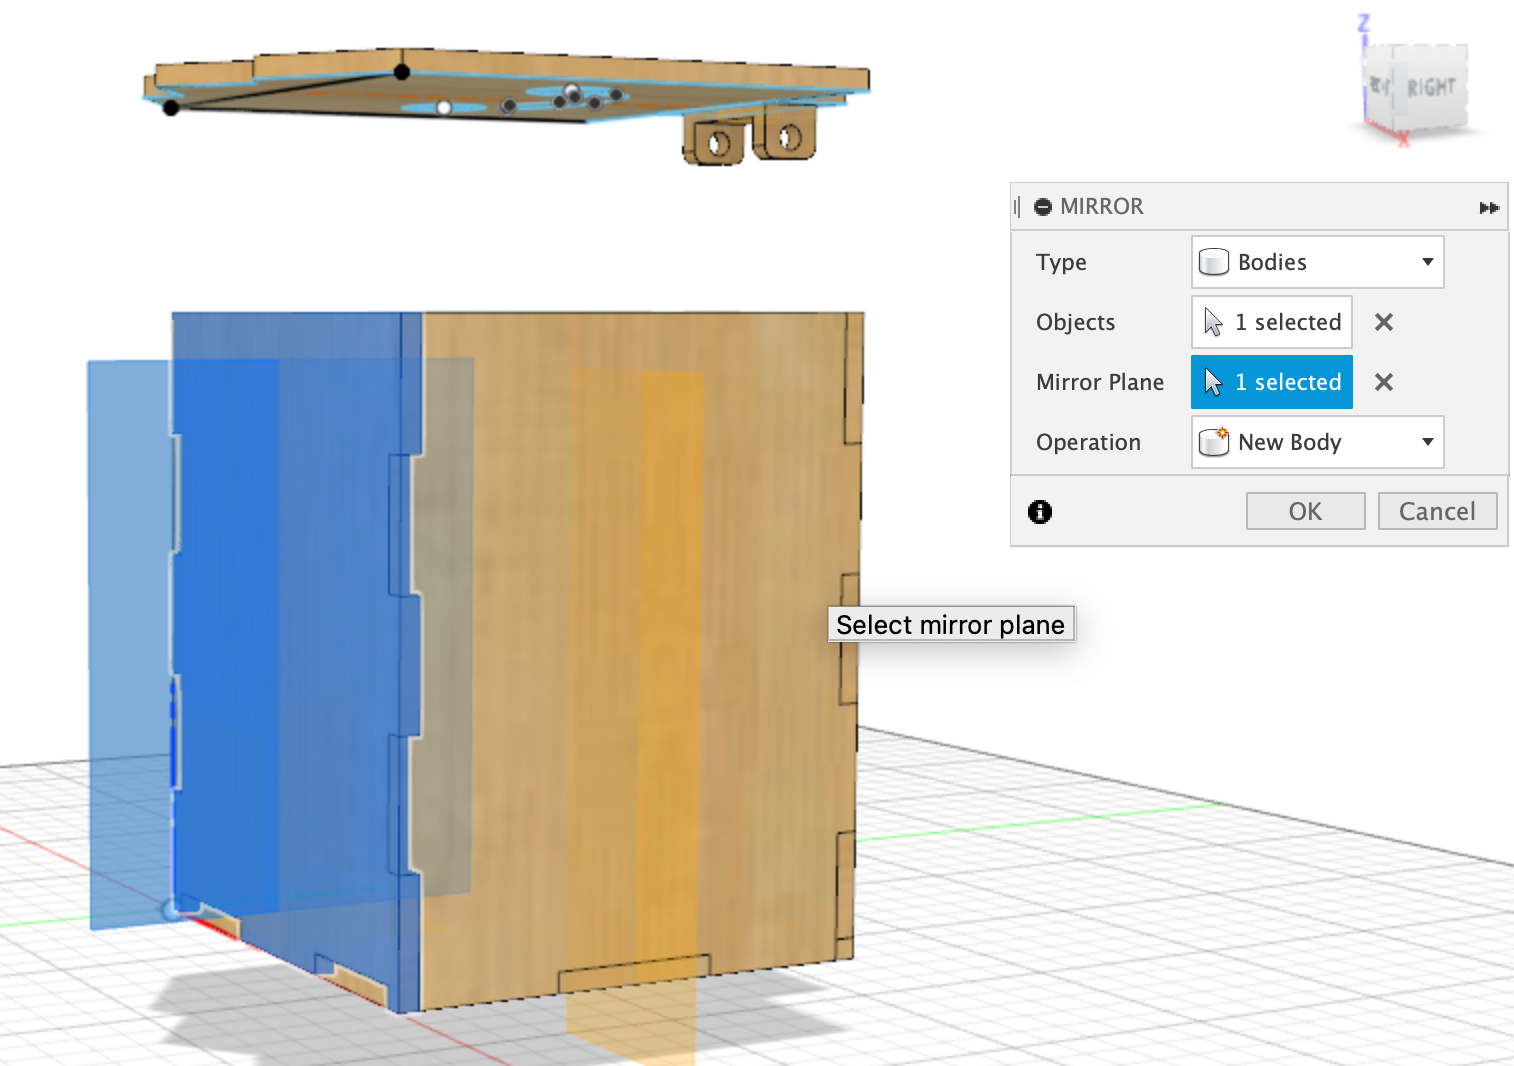
To work more efficiently, sketch out for one side with all the dimensions in place and from there extrude it out. If you are forming a regular cube, you just need to sketch out one side. After extruding the side to the thickness you want- in my case it is 5mm- under "Construct", select the "Midplane" option. You want to select the planes where the midplane will be at. After that use the mirror tool under "Create" and choose the midplane as well as the components you want to copy across. After that use the combine tool to cut away intersecting parts.
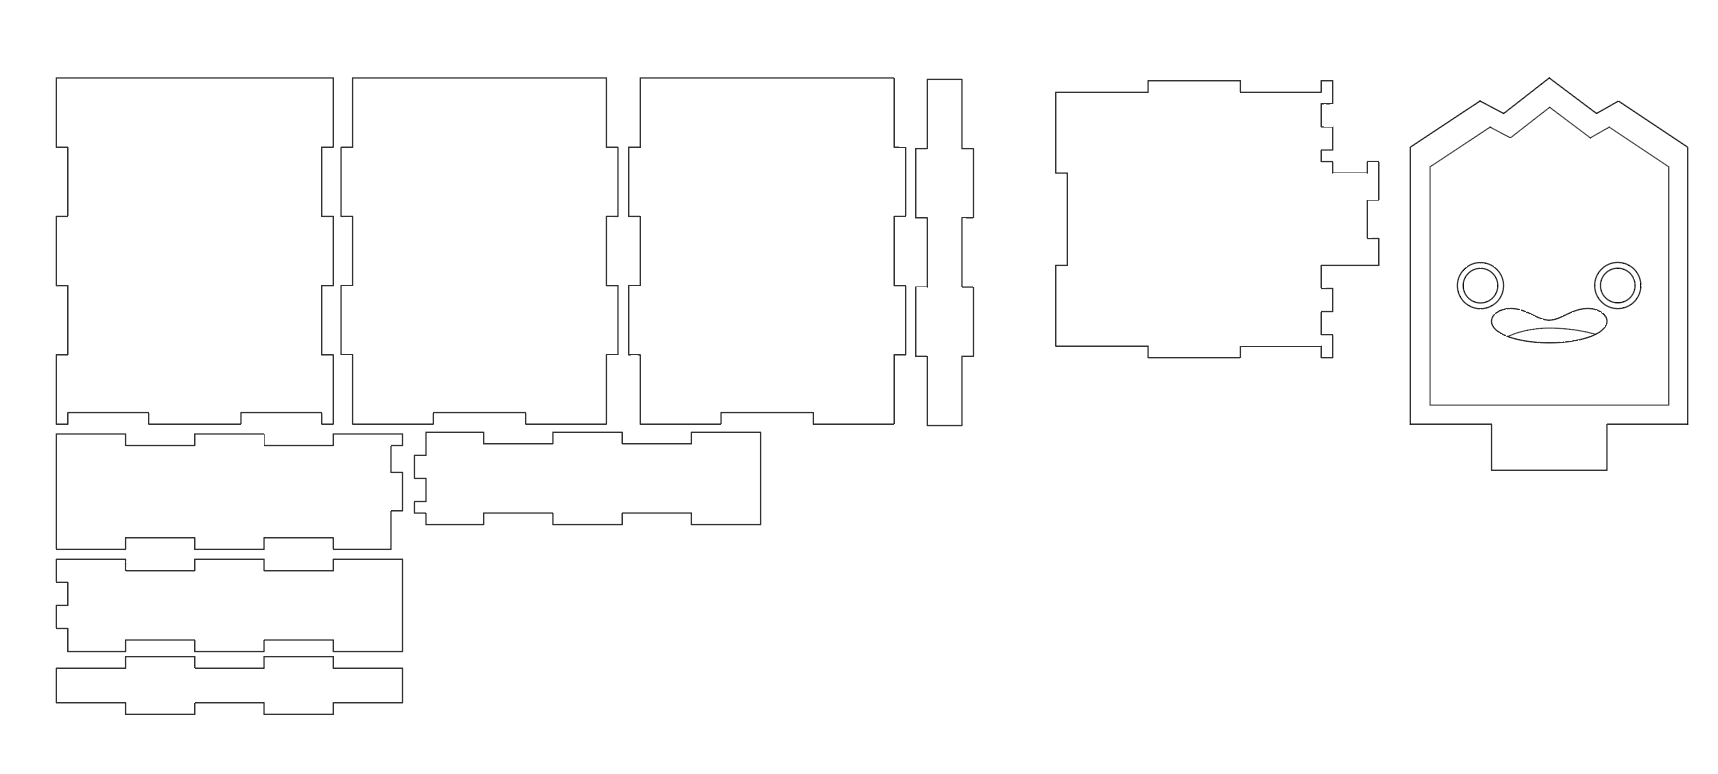
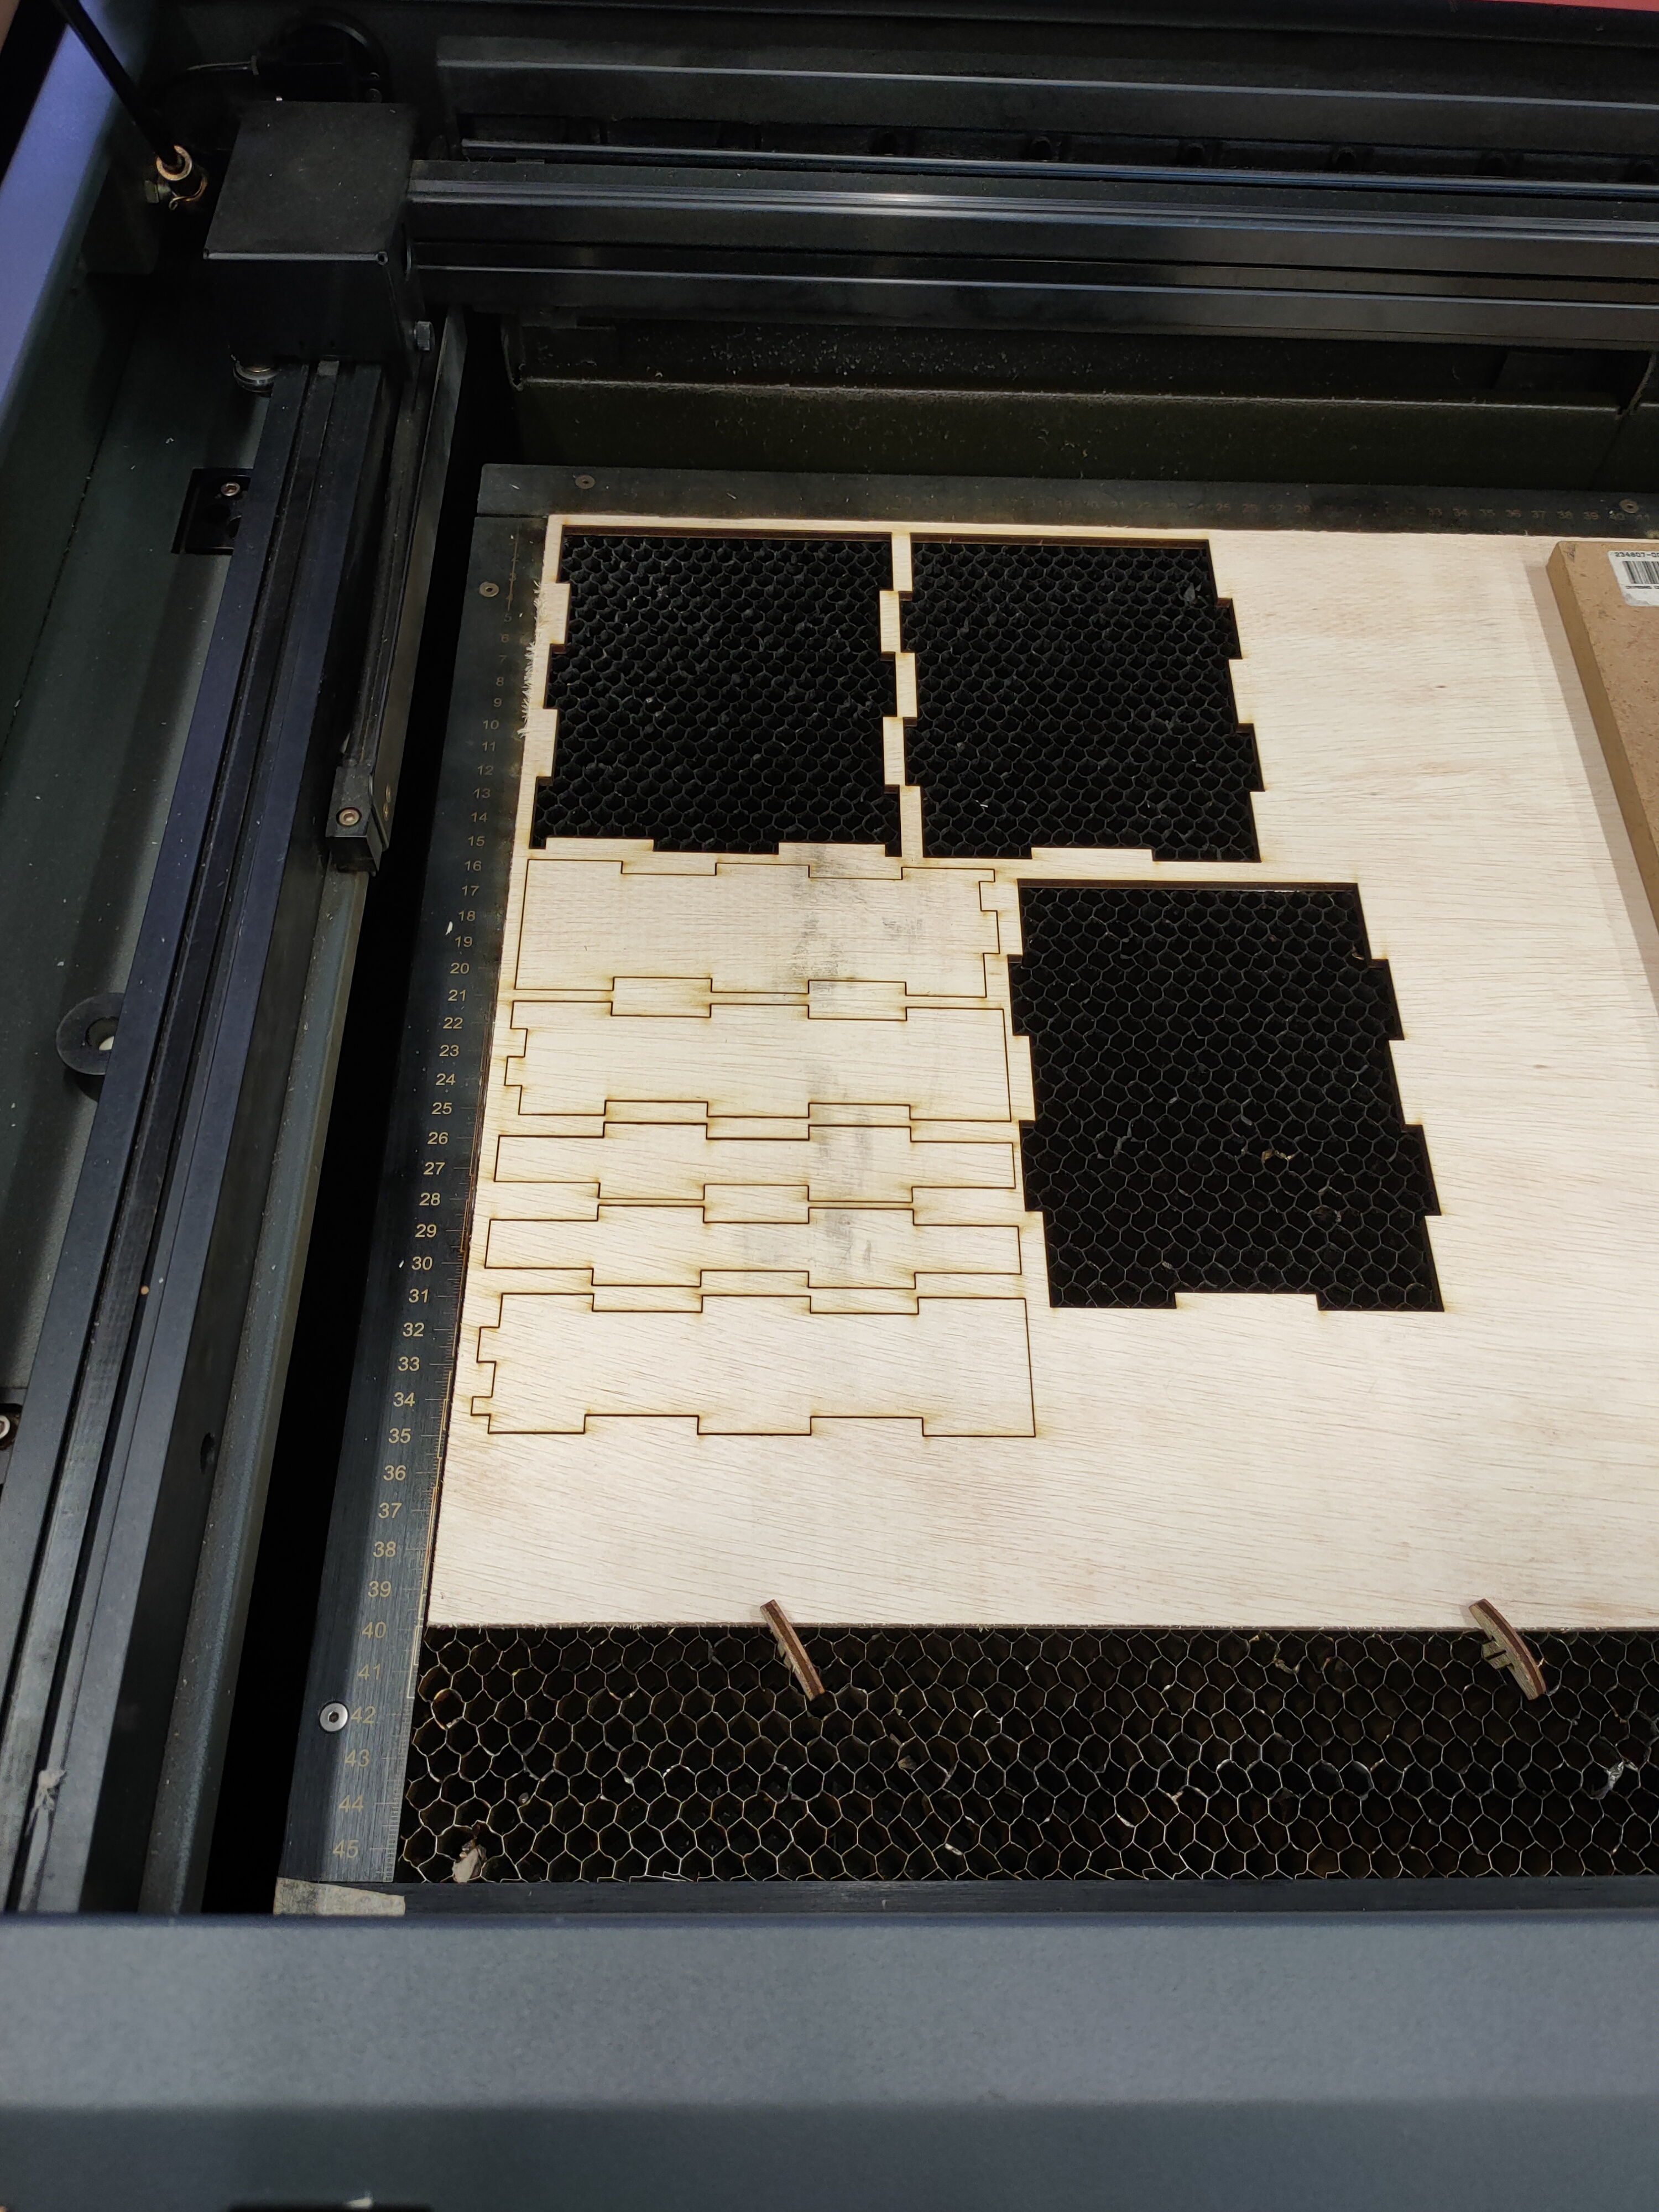
To prepare it for lasercutting, we need to create sketches of each component by clicking on the face and then on "create sketch". Export all the faces as dxf files. Since I'm familiar with Adobe Illustrator, I used that to layout my pieces on one artboard. Make sure to position them properly so that you don't take too much space. After that I sent it for lasercutting and engraving.

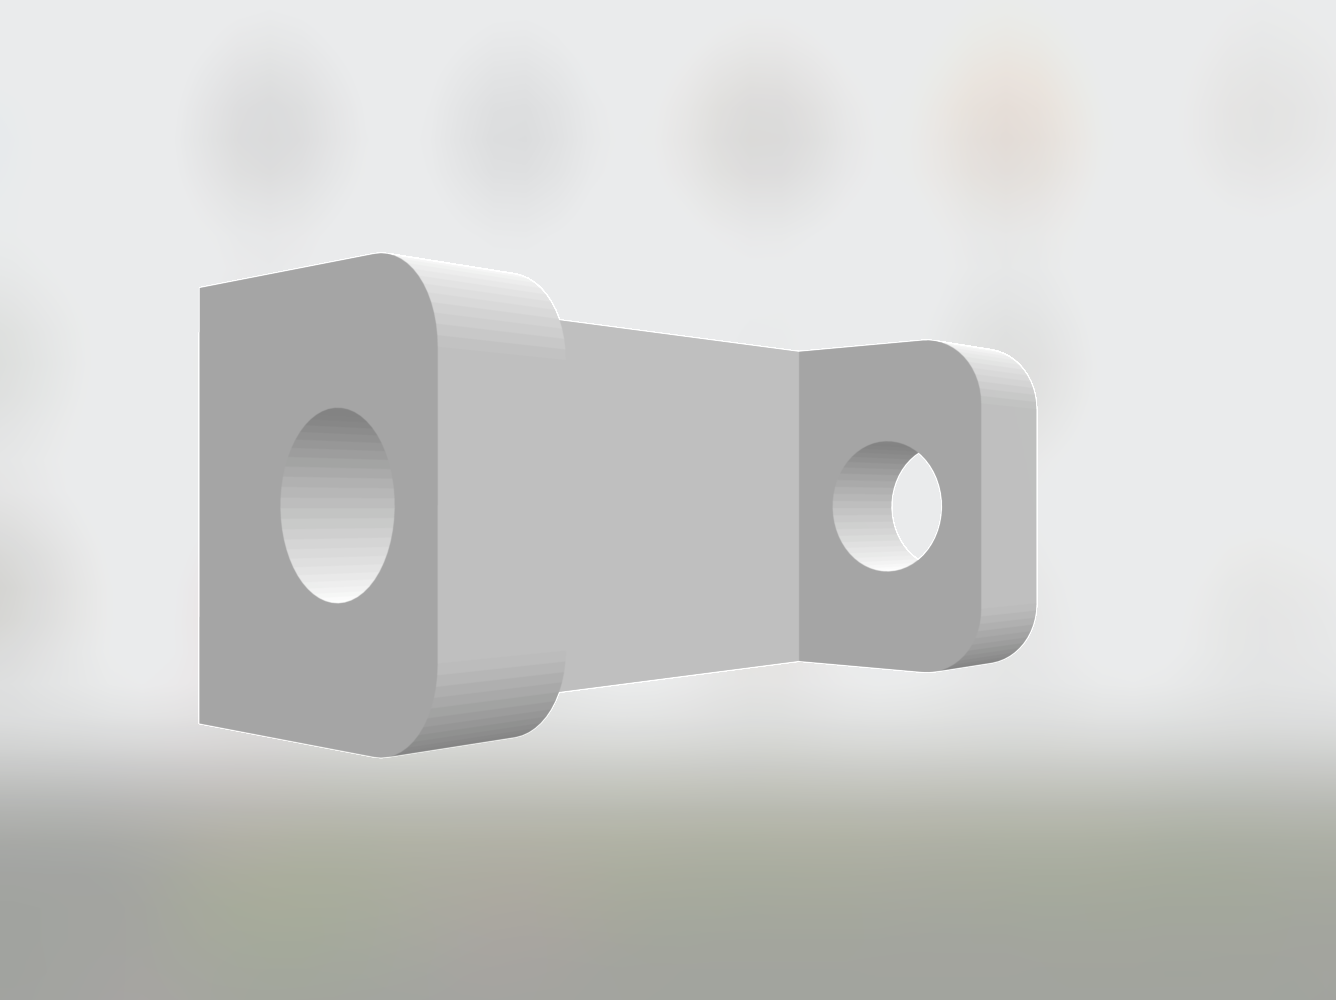
Process: 3D Printing the Hinge
After creating the hinge part in fusion 360, I just exported it as a stl file before importing it in Ultimaker Cura to convert it into a gcode that is readable by the 3D printer. Below is how it looks like in preview.
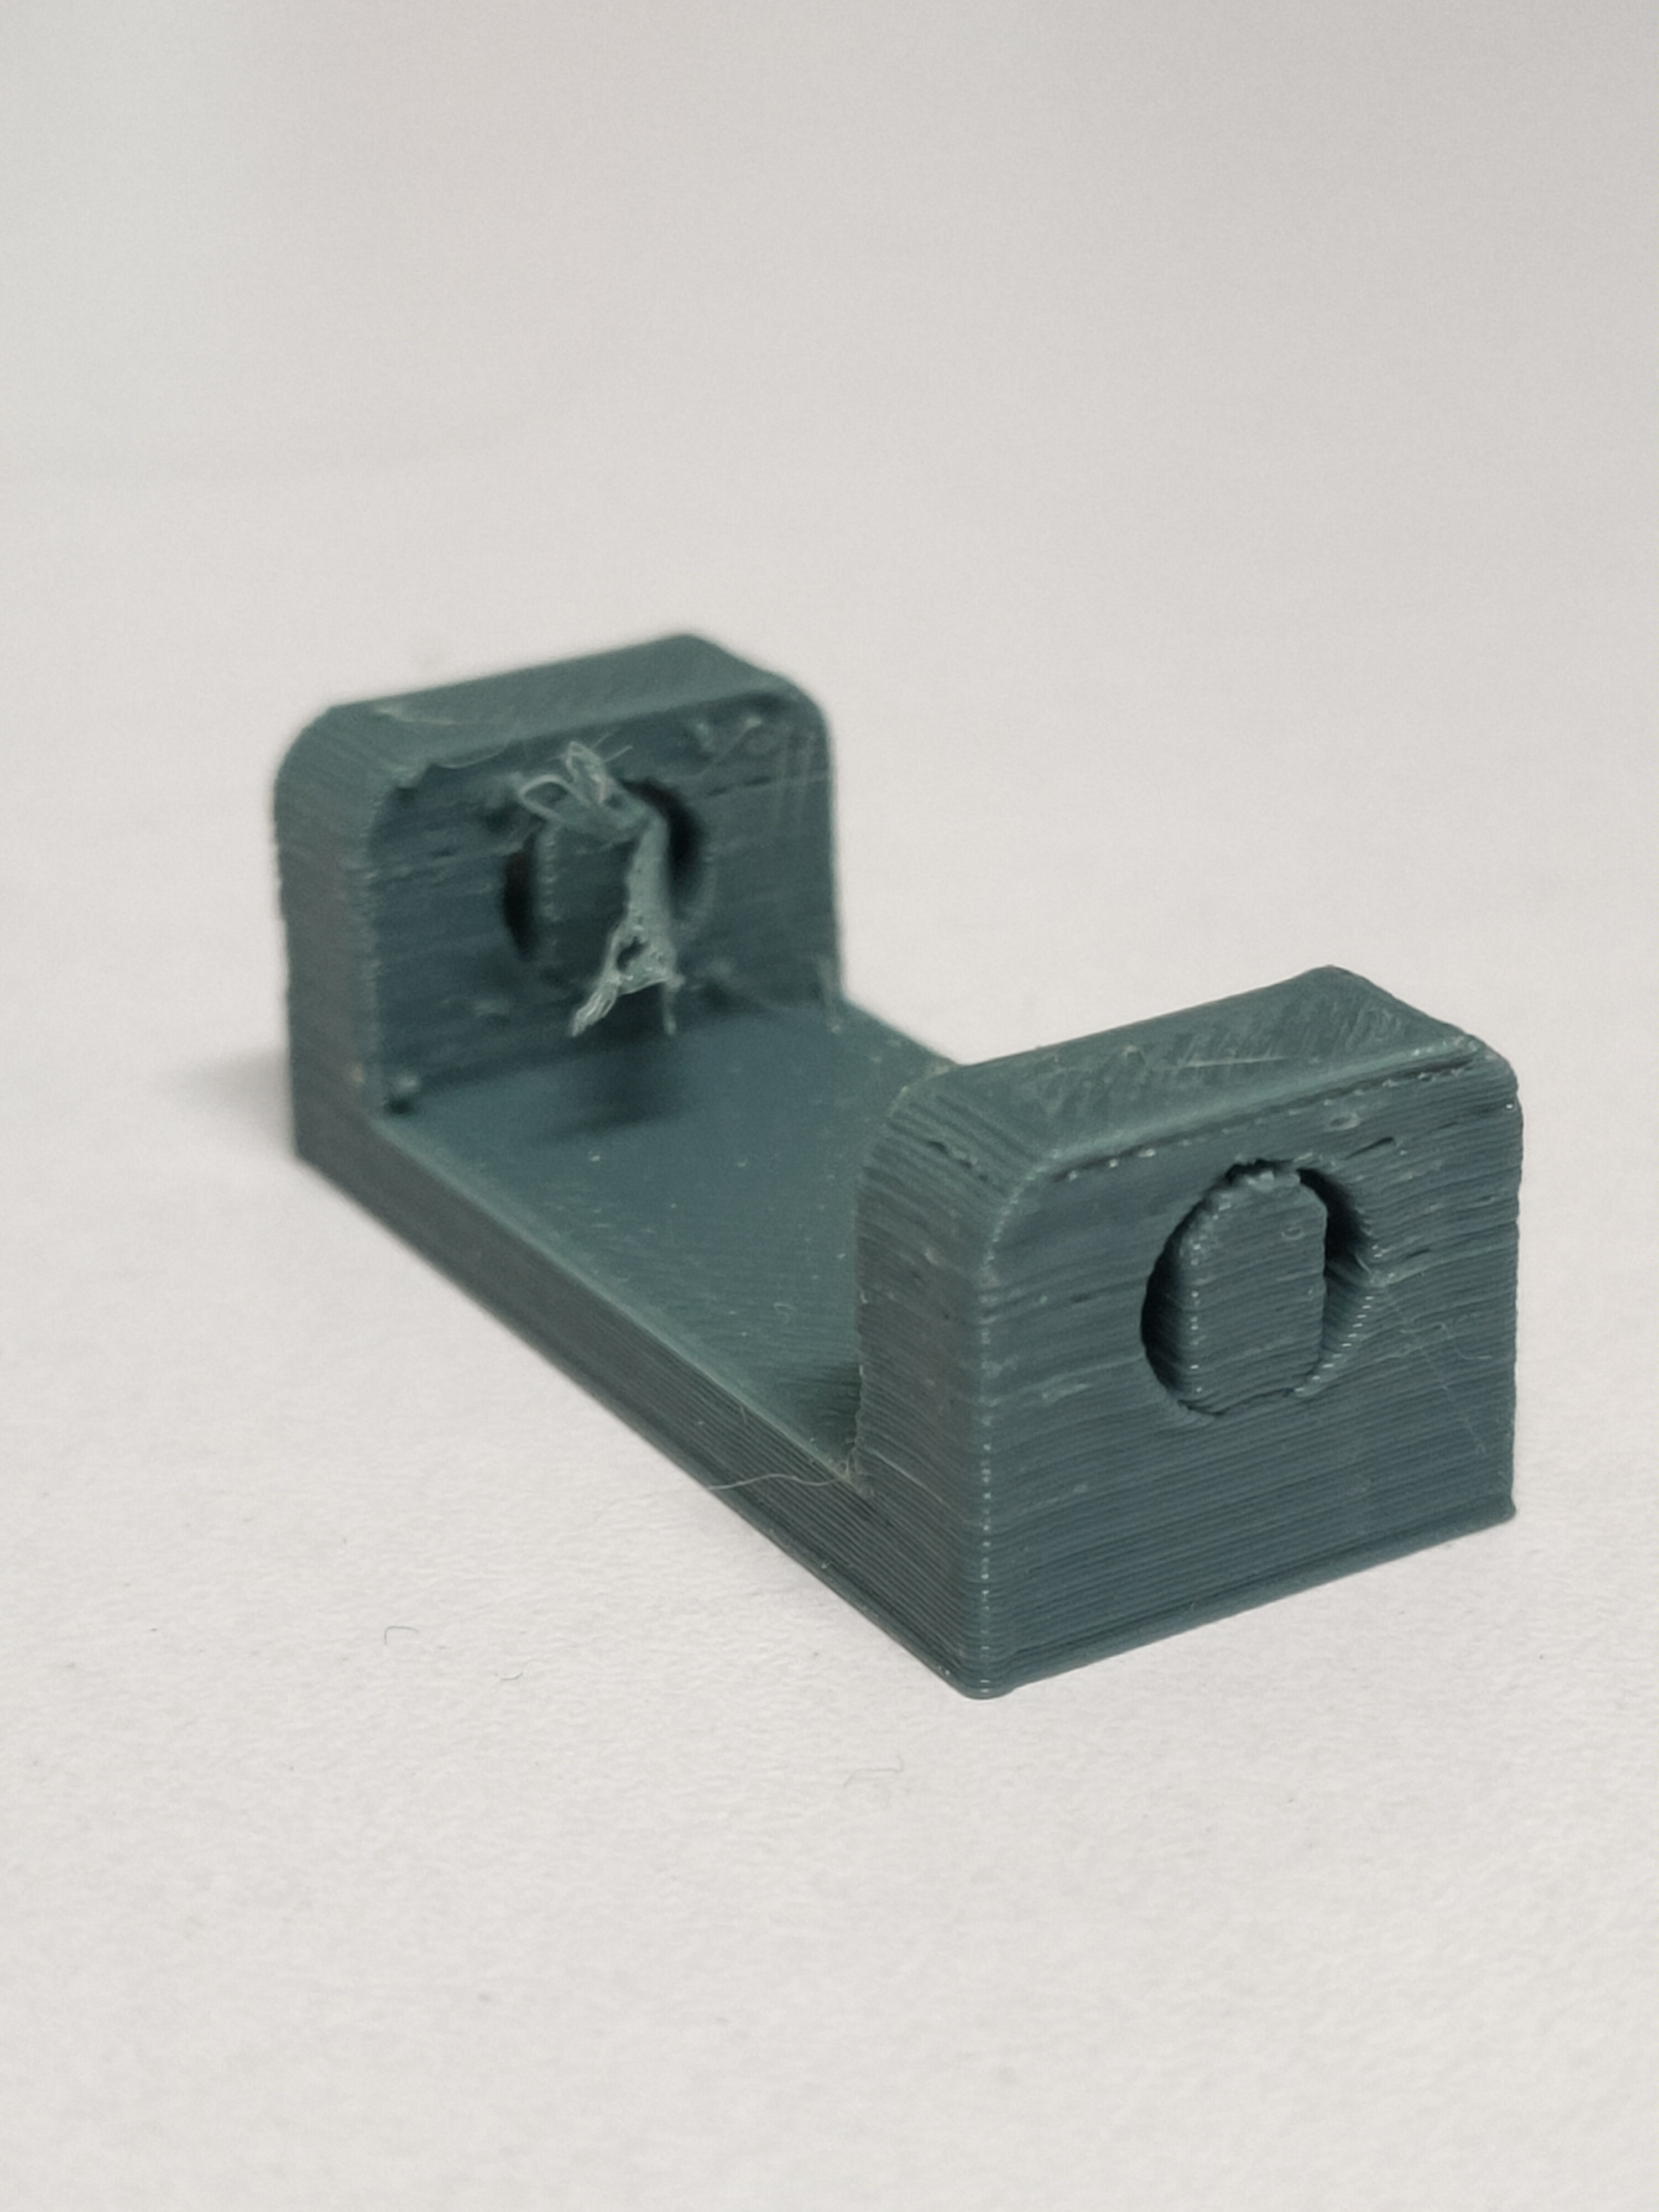
Here is how it looks like after printing. It took only 15 minutes.
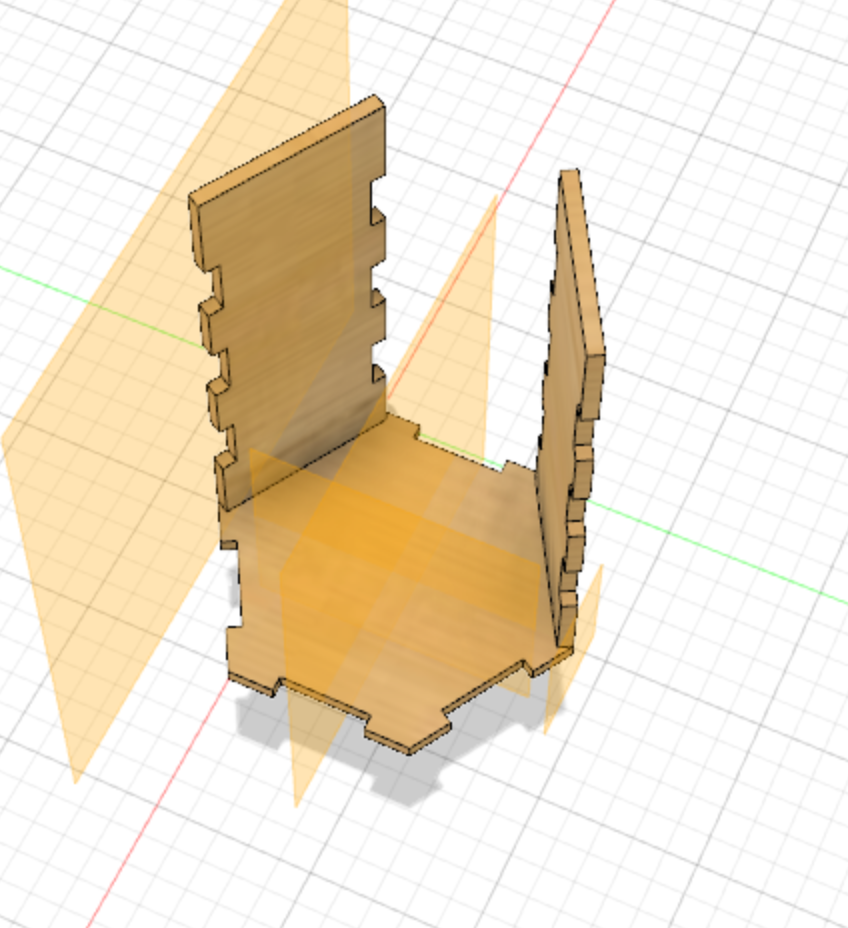
Here is how my Trash Bin Model looks like on Fusion 360:
Process: Coding
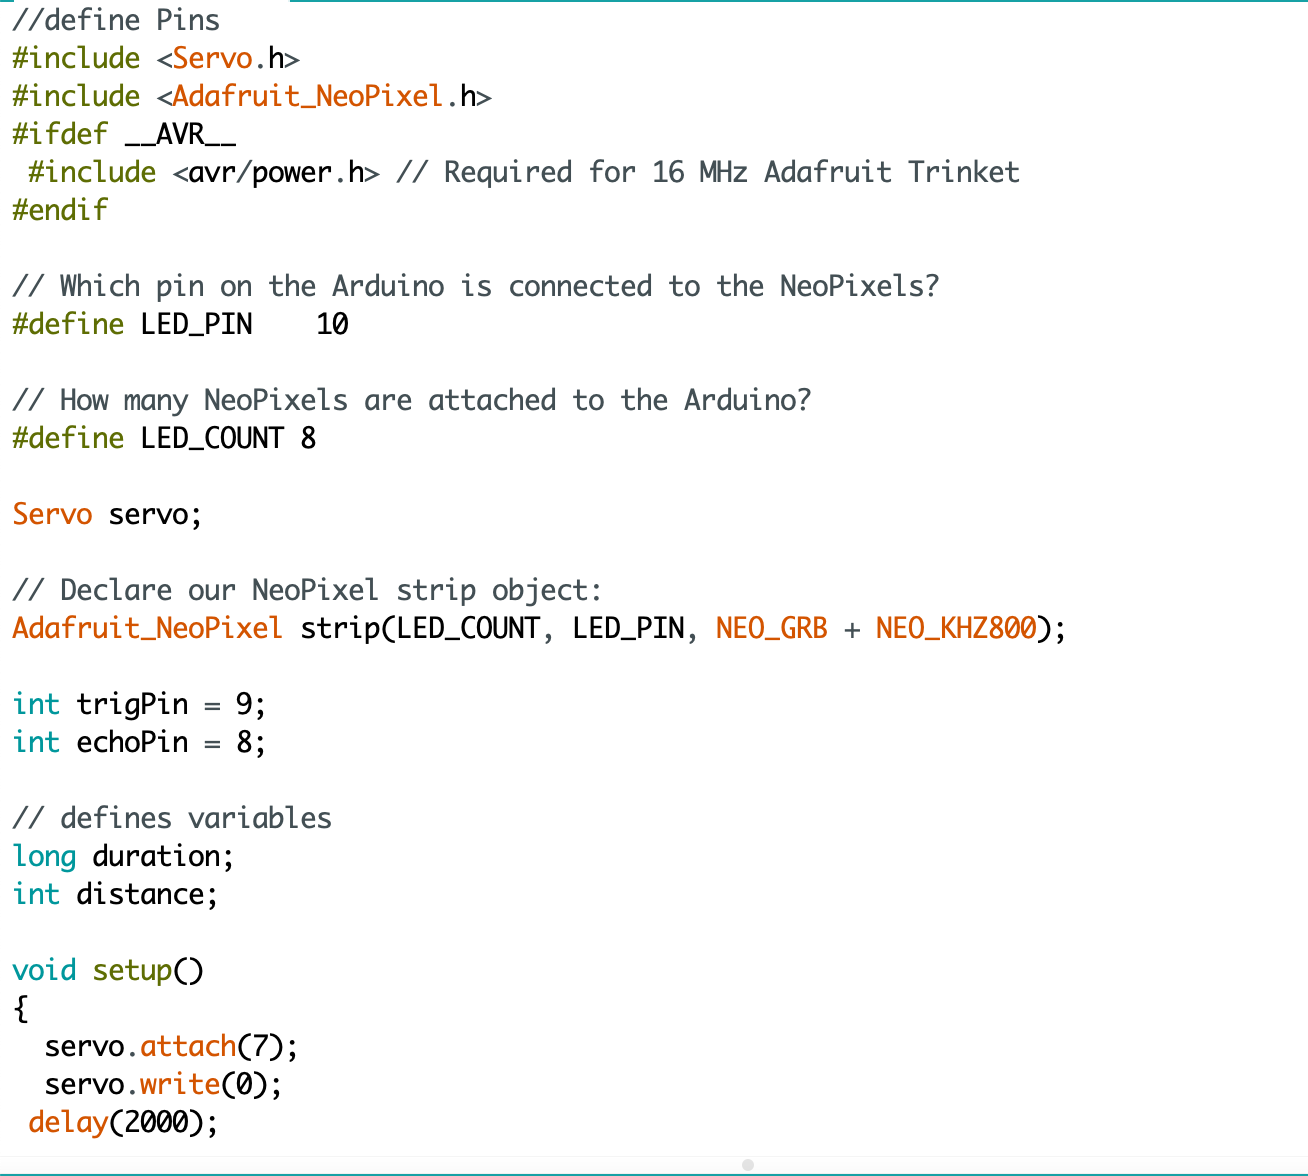
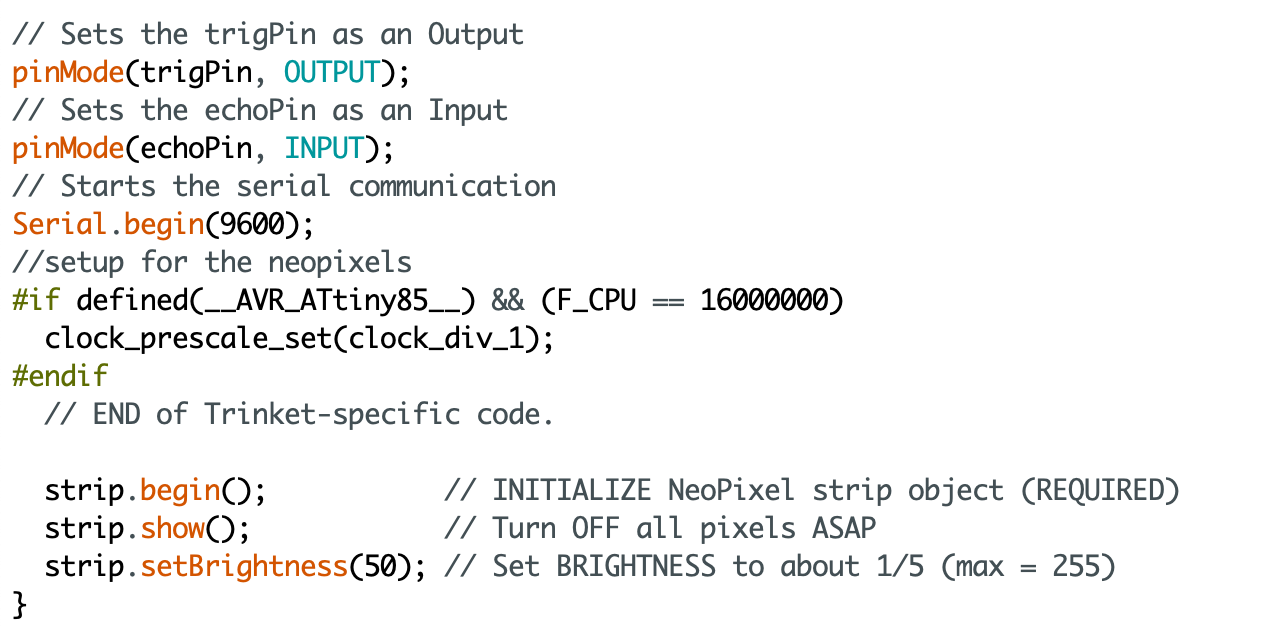
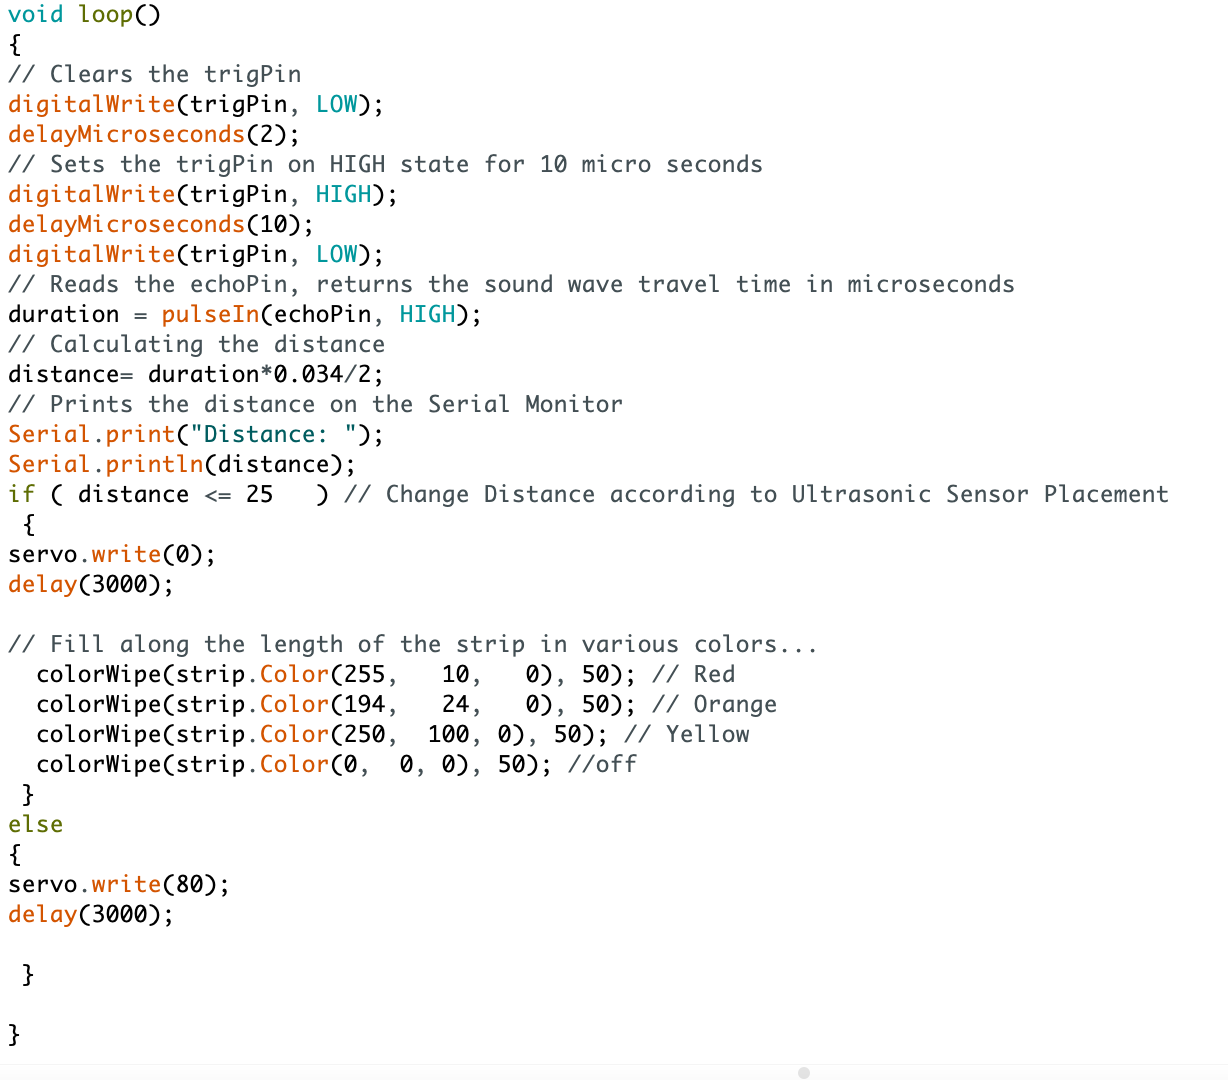
I used the code from the libraries provided by Neopixel Adafruit and the ones already installed in the Arduino IDE. I just edited it down to the parts I wanted. Here are the steps I want my prototype to carry out:
- Trigger Servo Motor to position at an angle of 80 degrees
- Wait for 3 seconds
- Neopixels strip light up red, orange, yellow
- Neopixels strip turn off
- Servo Motor returns to original position
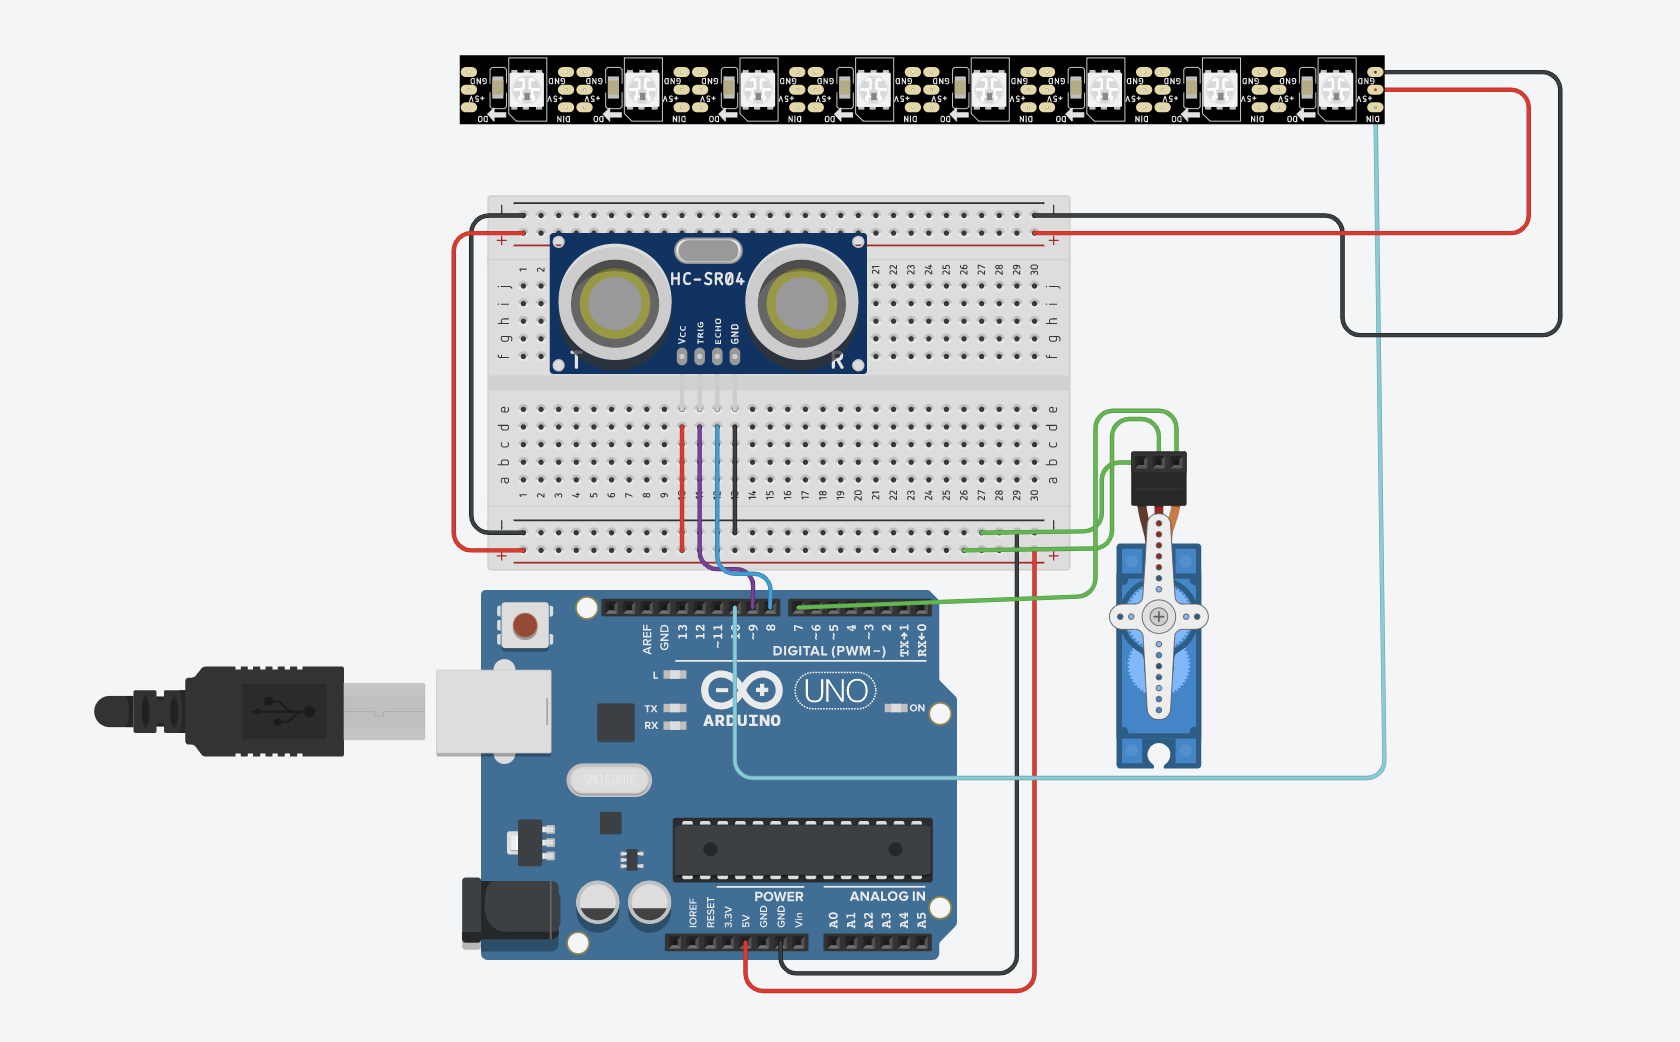
I used TinkerCAD to help simulate the code. Below is how I set up my components, though for the final one I added some more jumper wires to give me flexibility in the placement of my Ultrasonic Sensor on the trash bin.
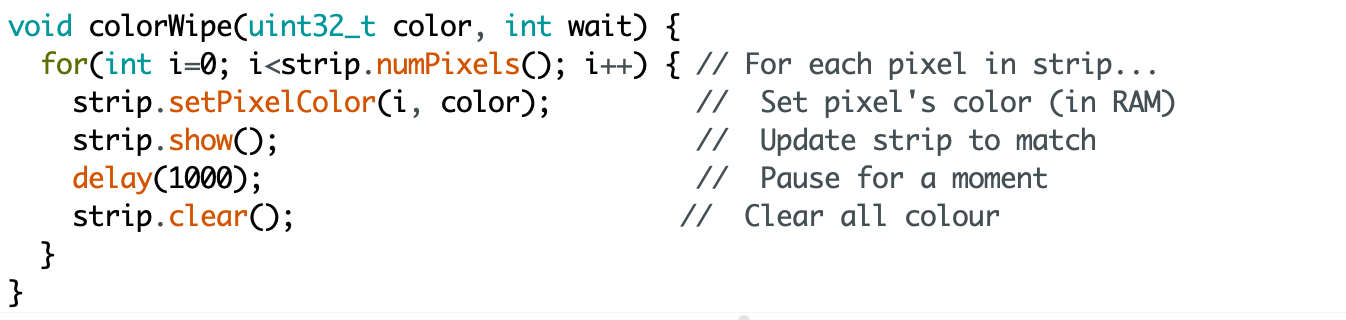
Here is the code I used:
Assembly
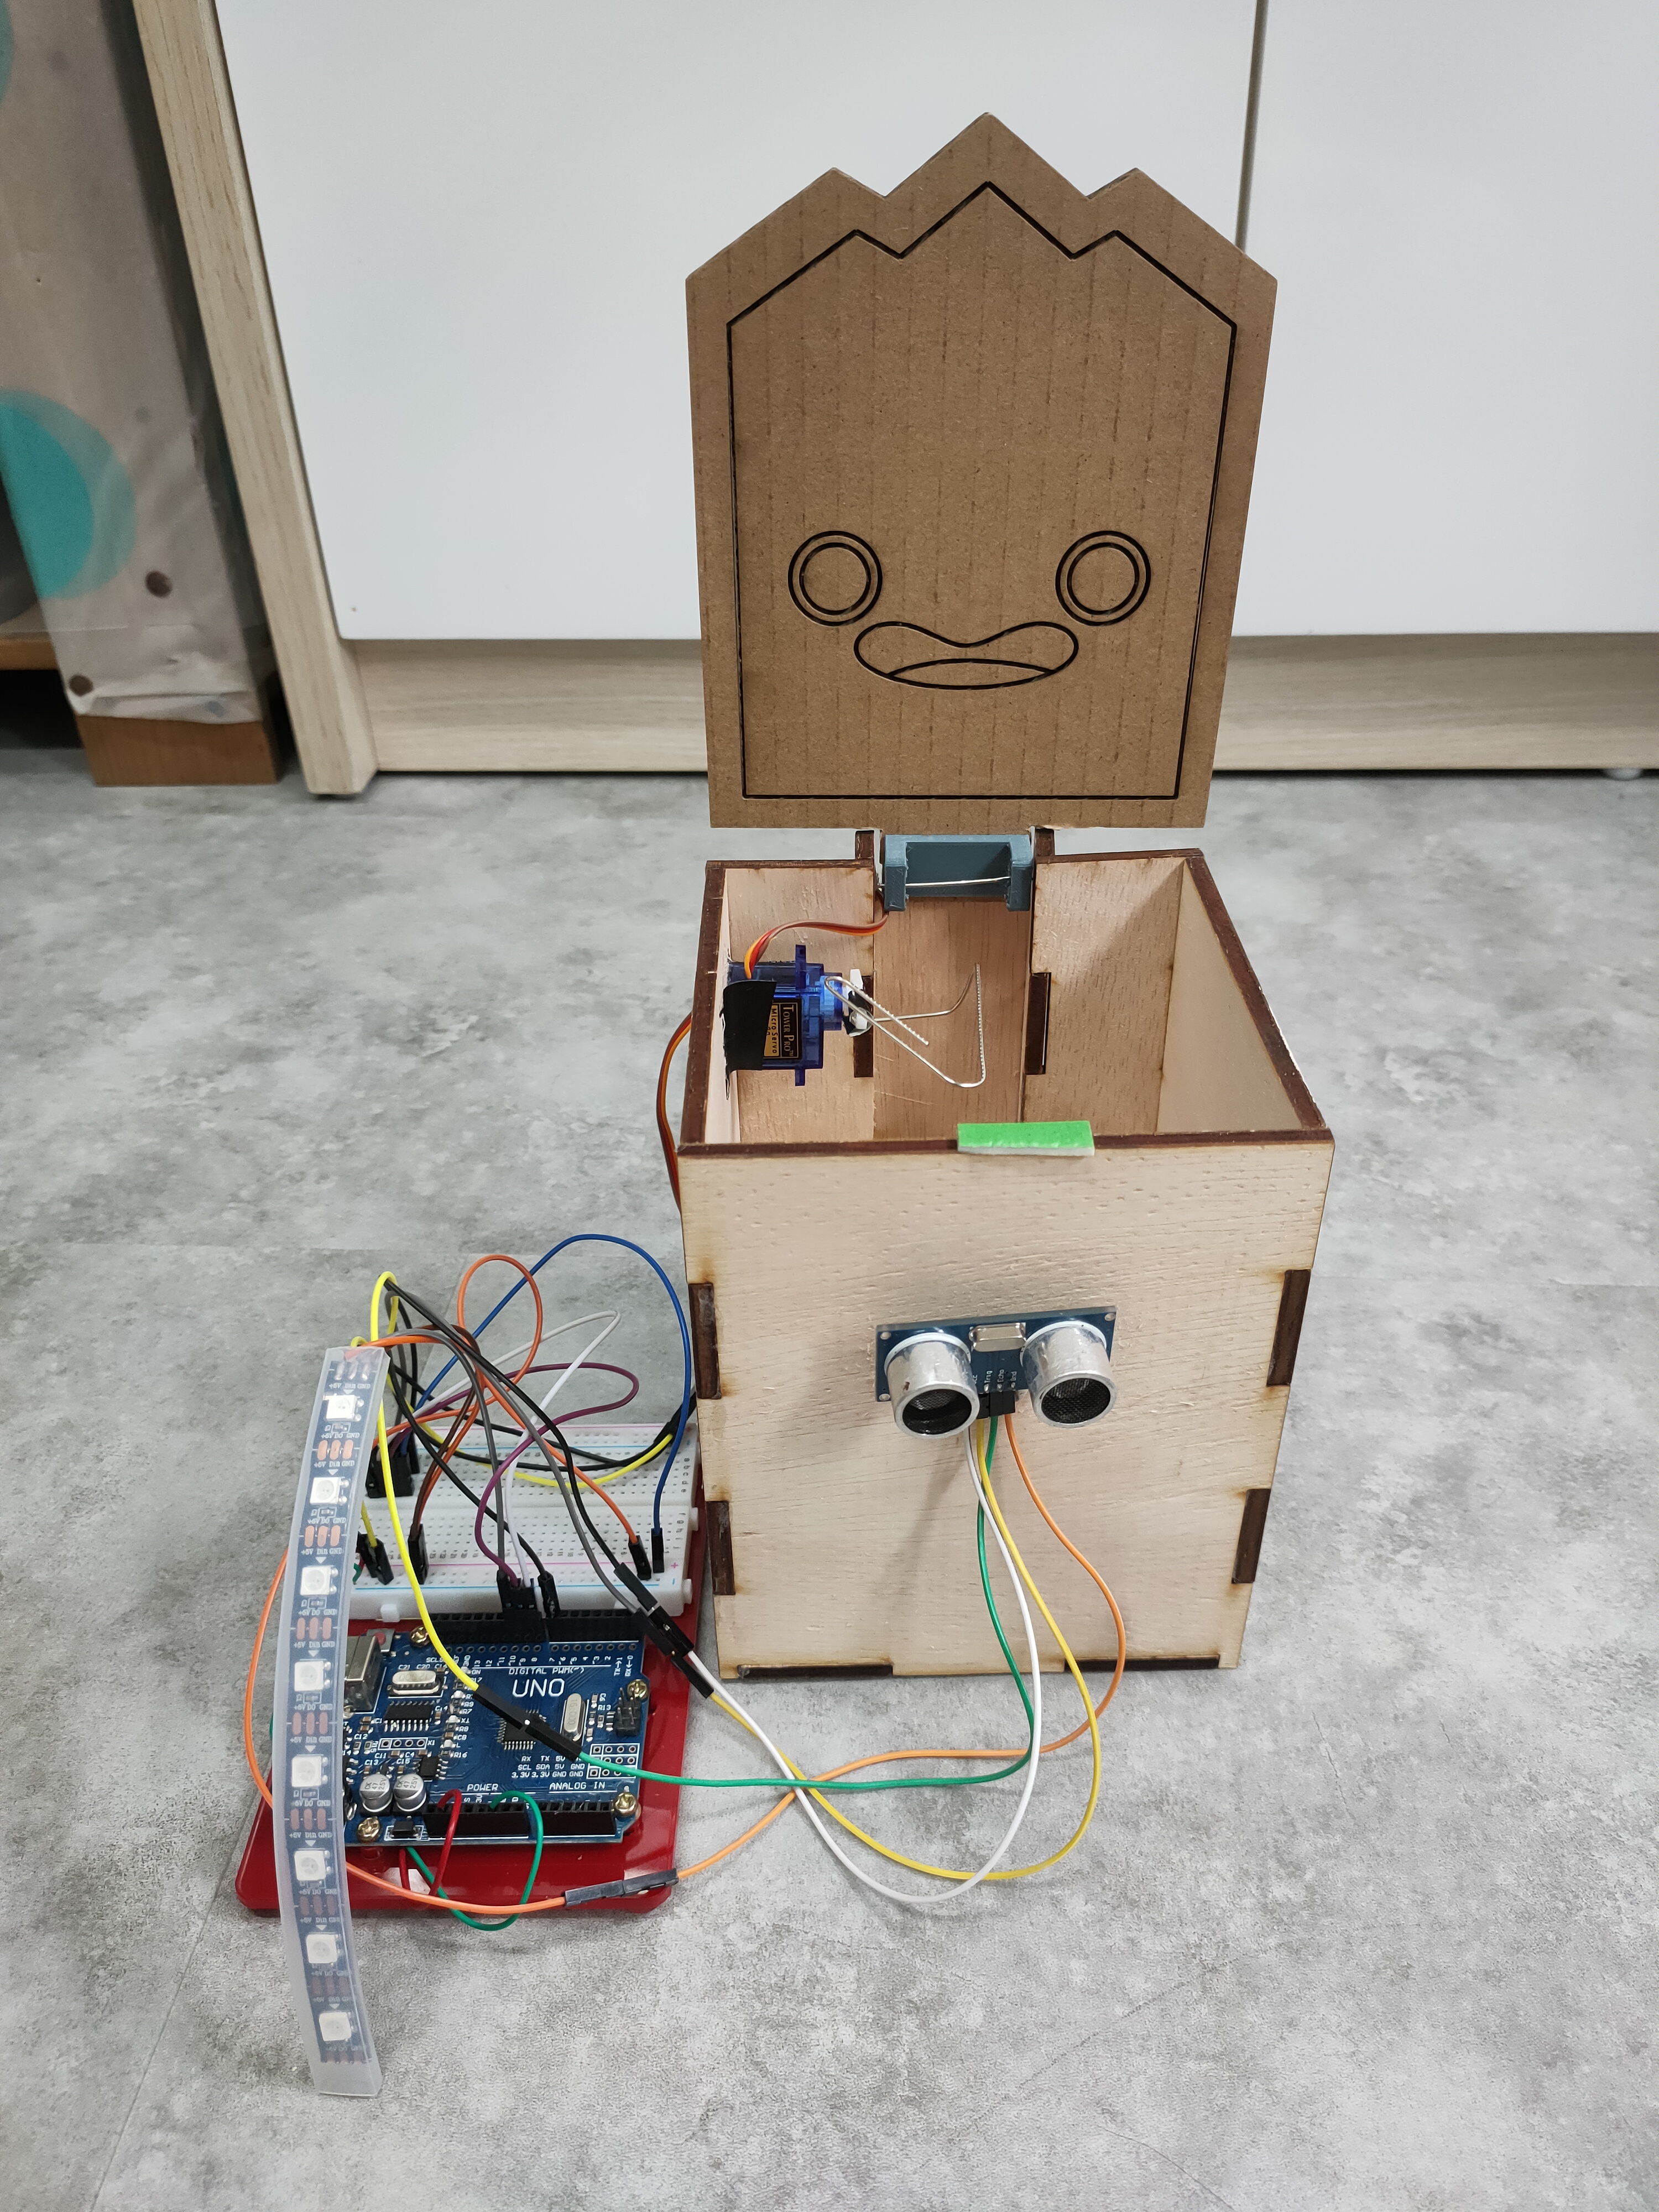
To lift the lid up, I used 1 paper clip to act as an extension of the servo motor arm and shaped it like a triangle to increase its contact surface area. Below is a close-up picture of how I did it:
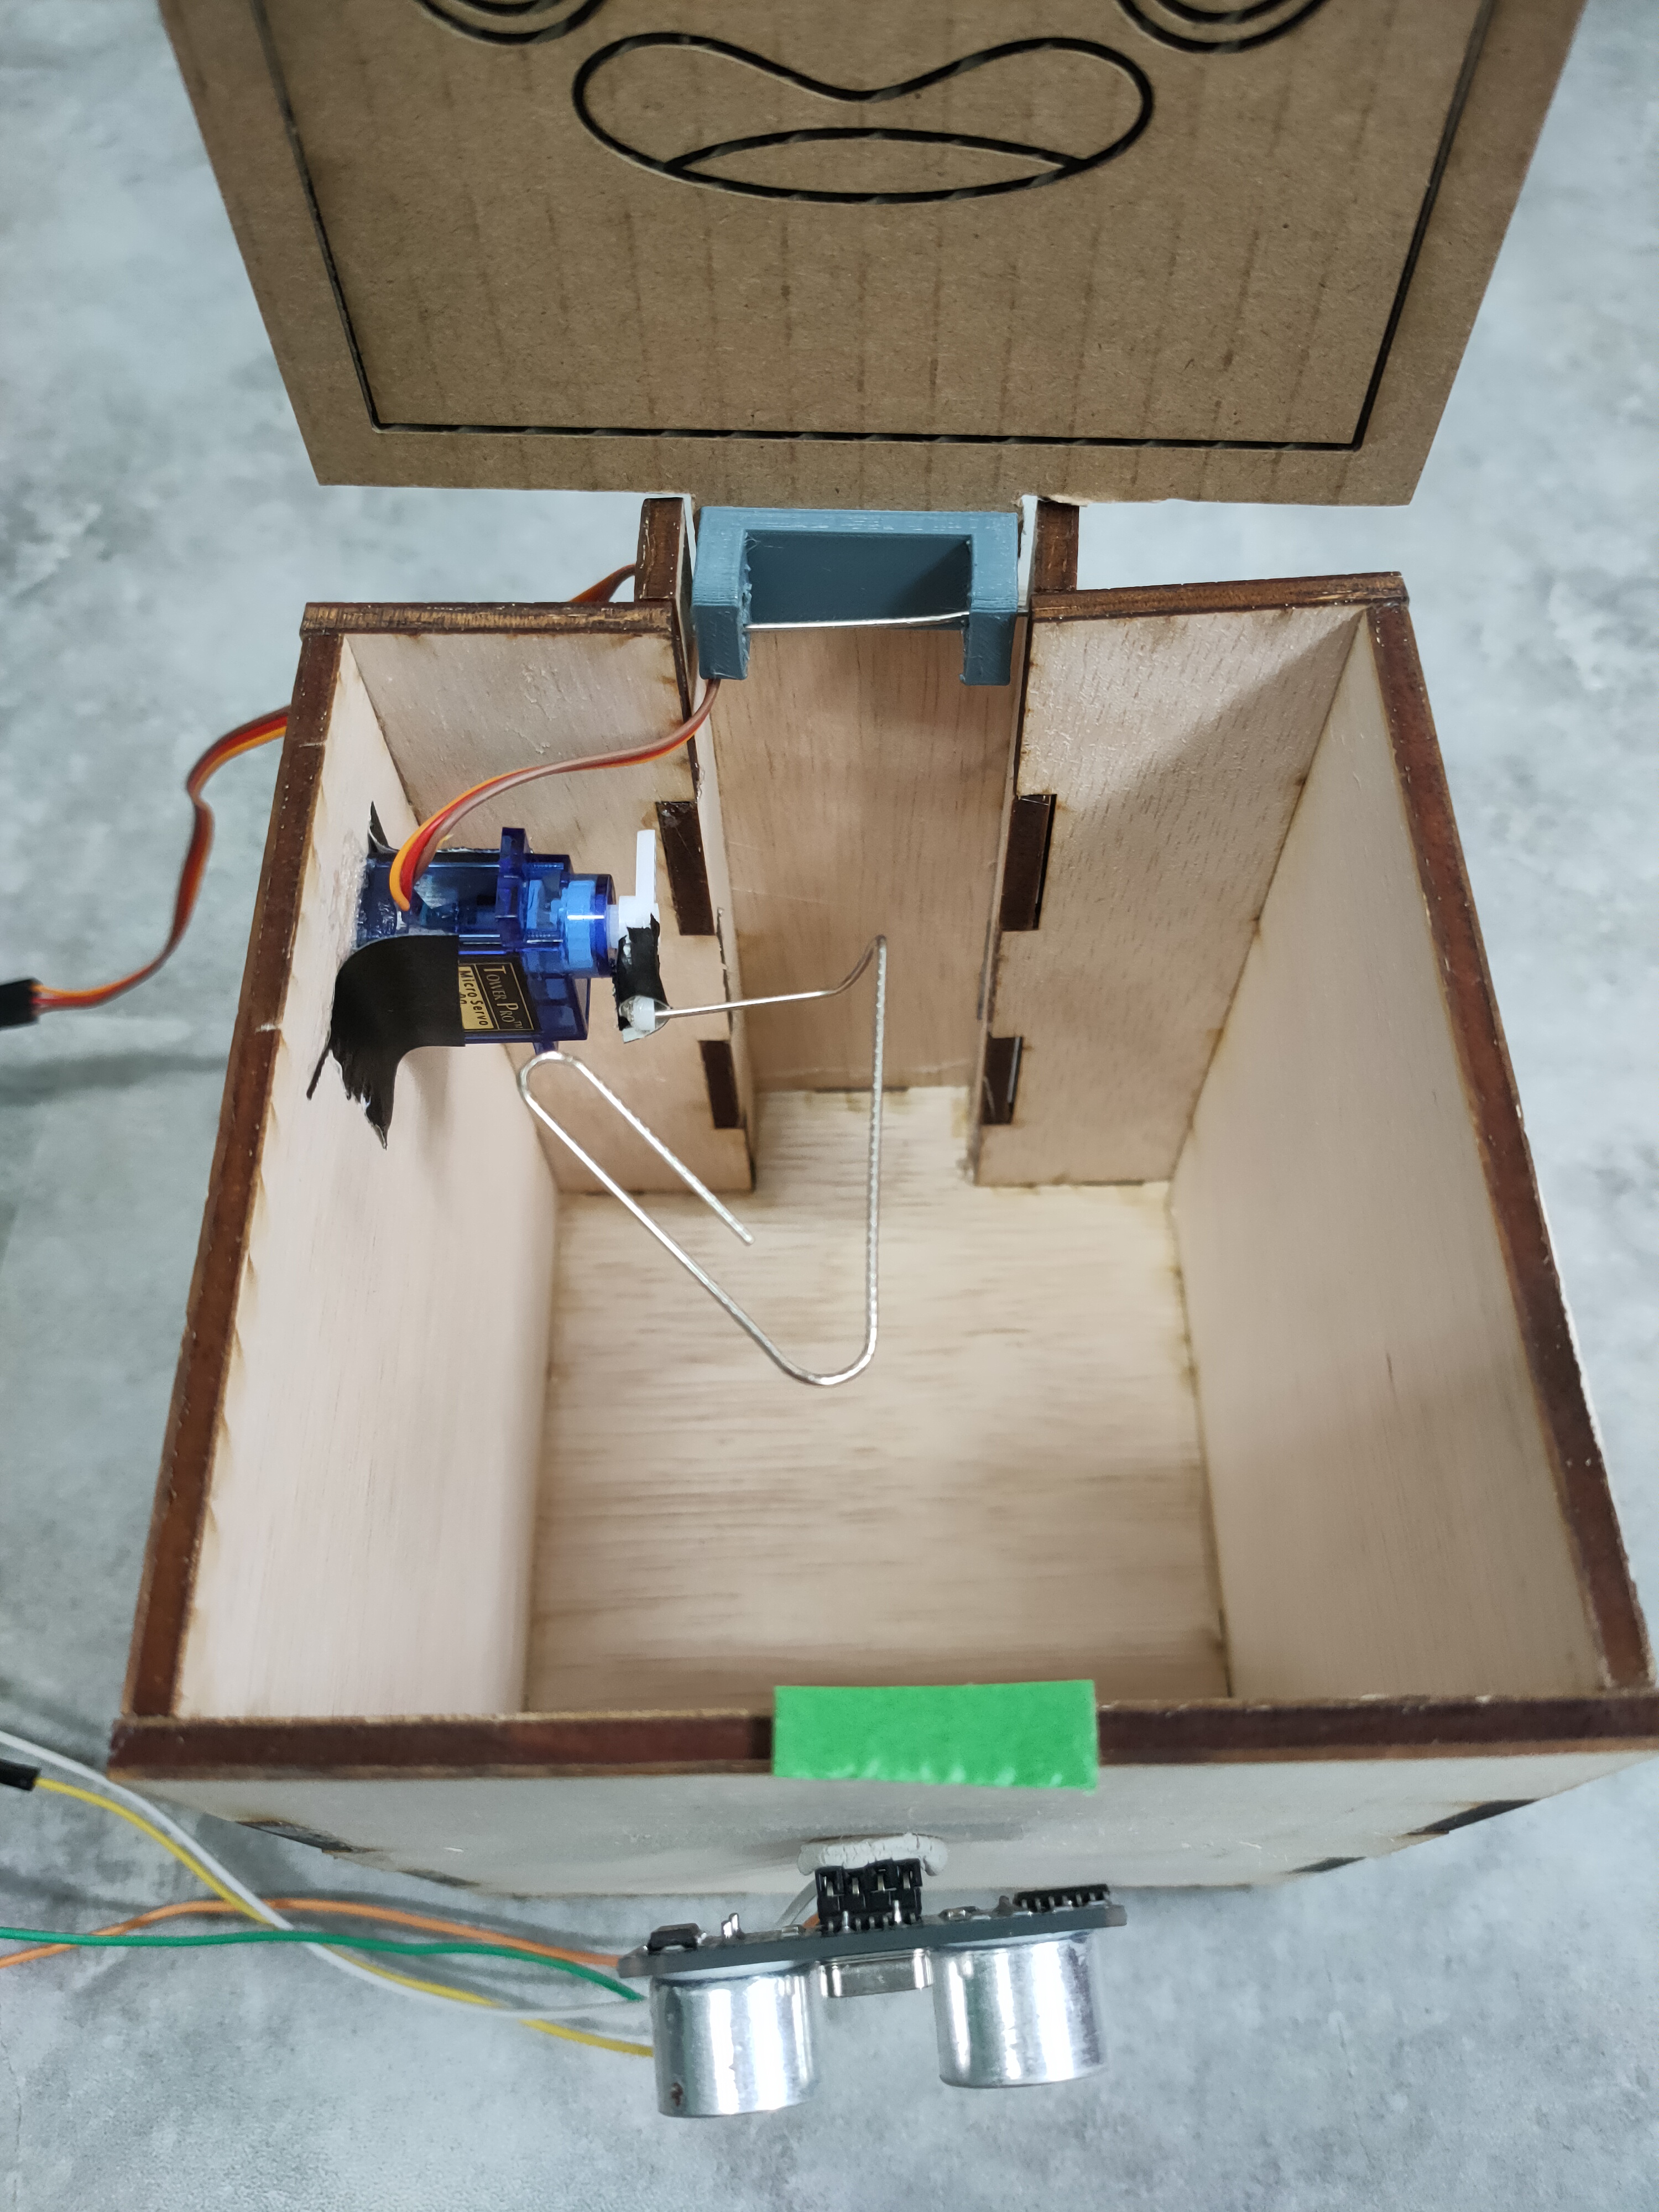
I connected the hinge part to the box by gluing it to the cover lid and then poking two holes into the sides of the protruding part of the box. I then used another paper clip to connect the hinge to the box. I had to shave down the back of the protruding part as I needed space for the lid to be able to rotate.
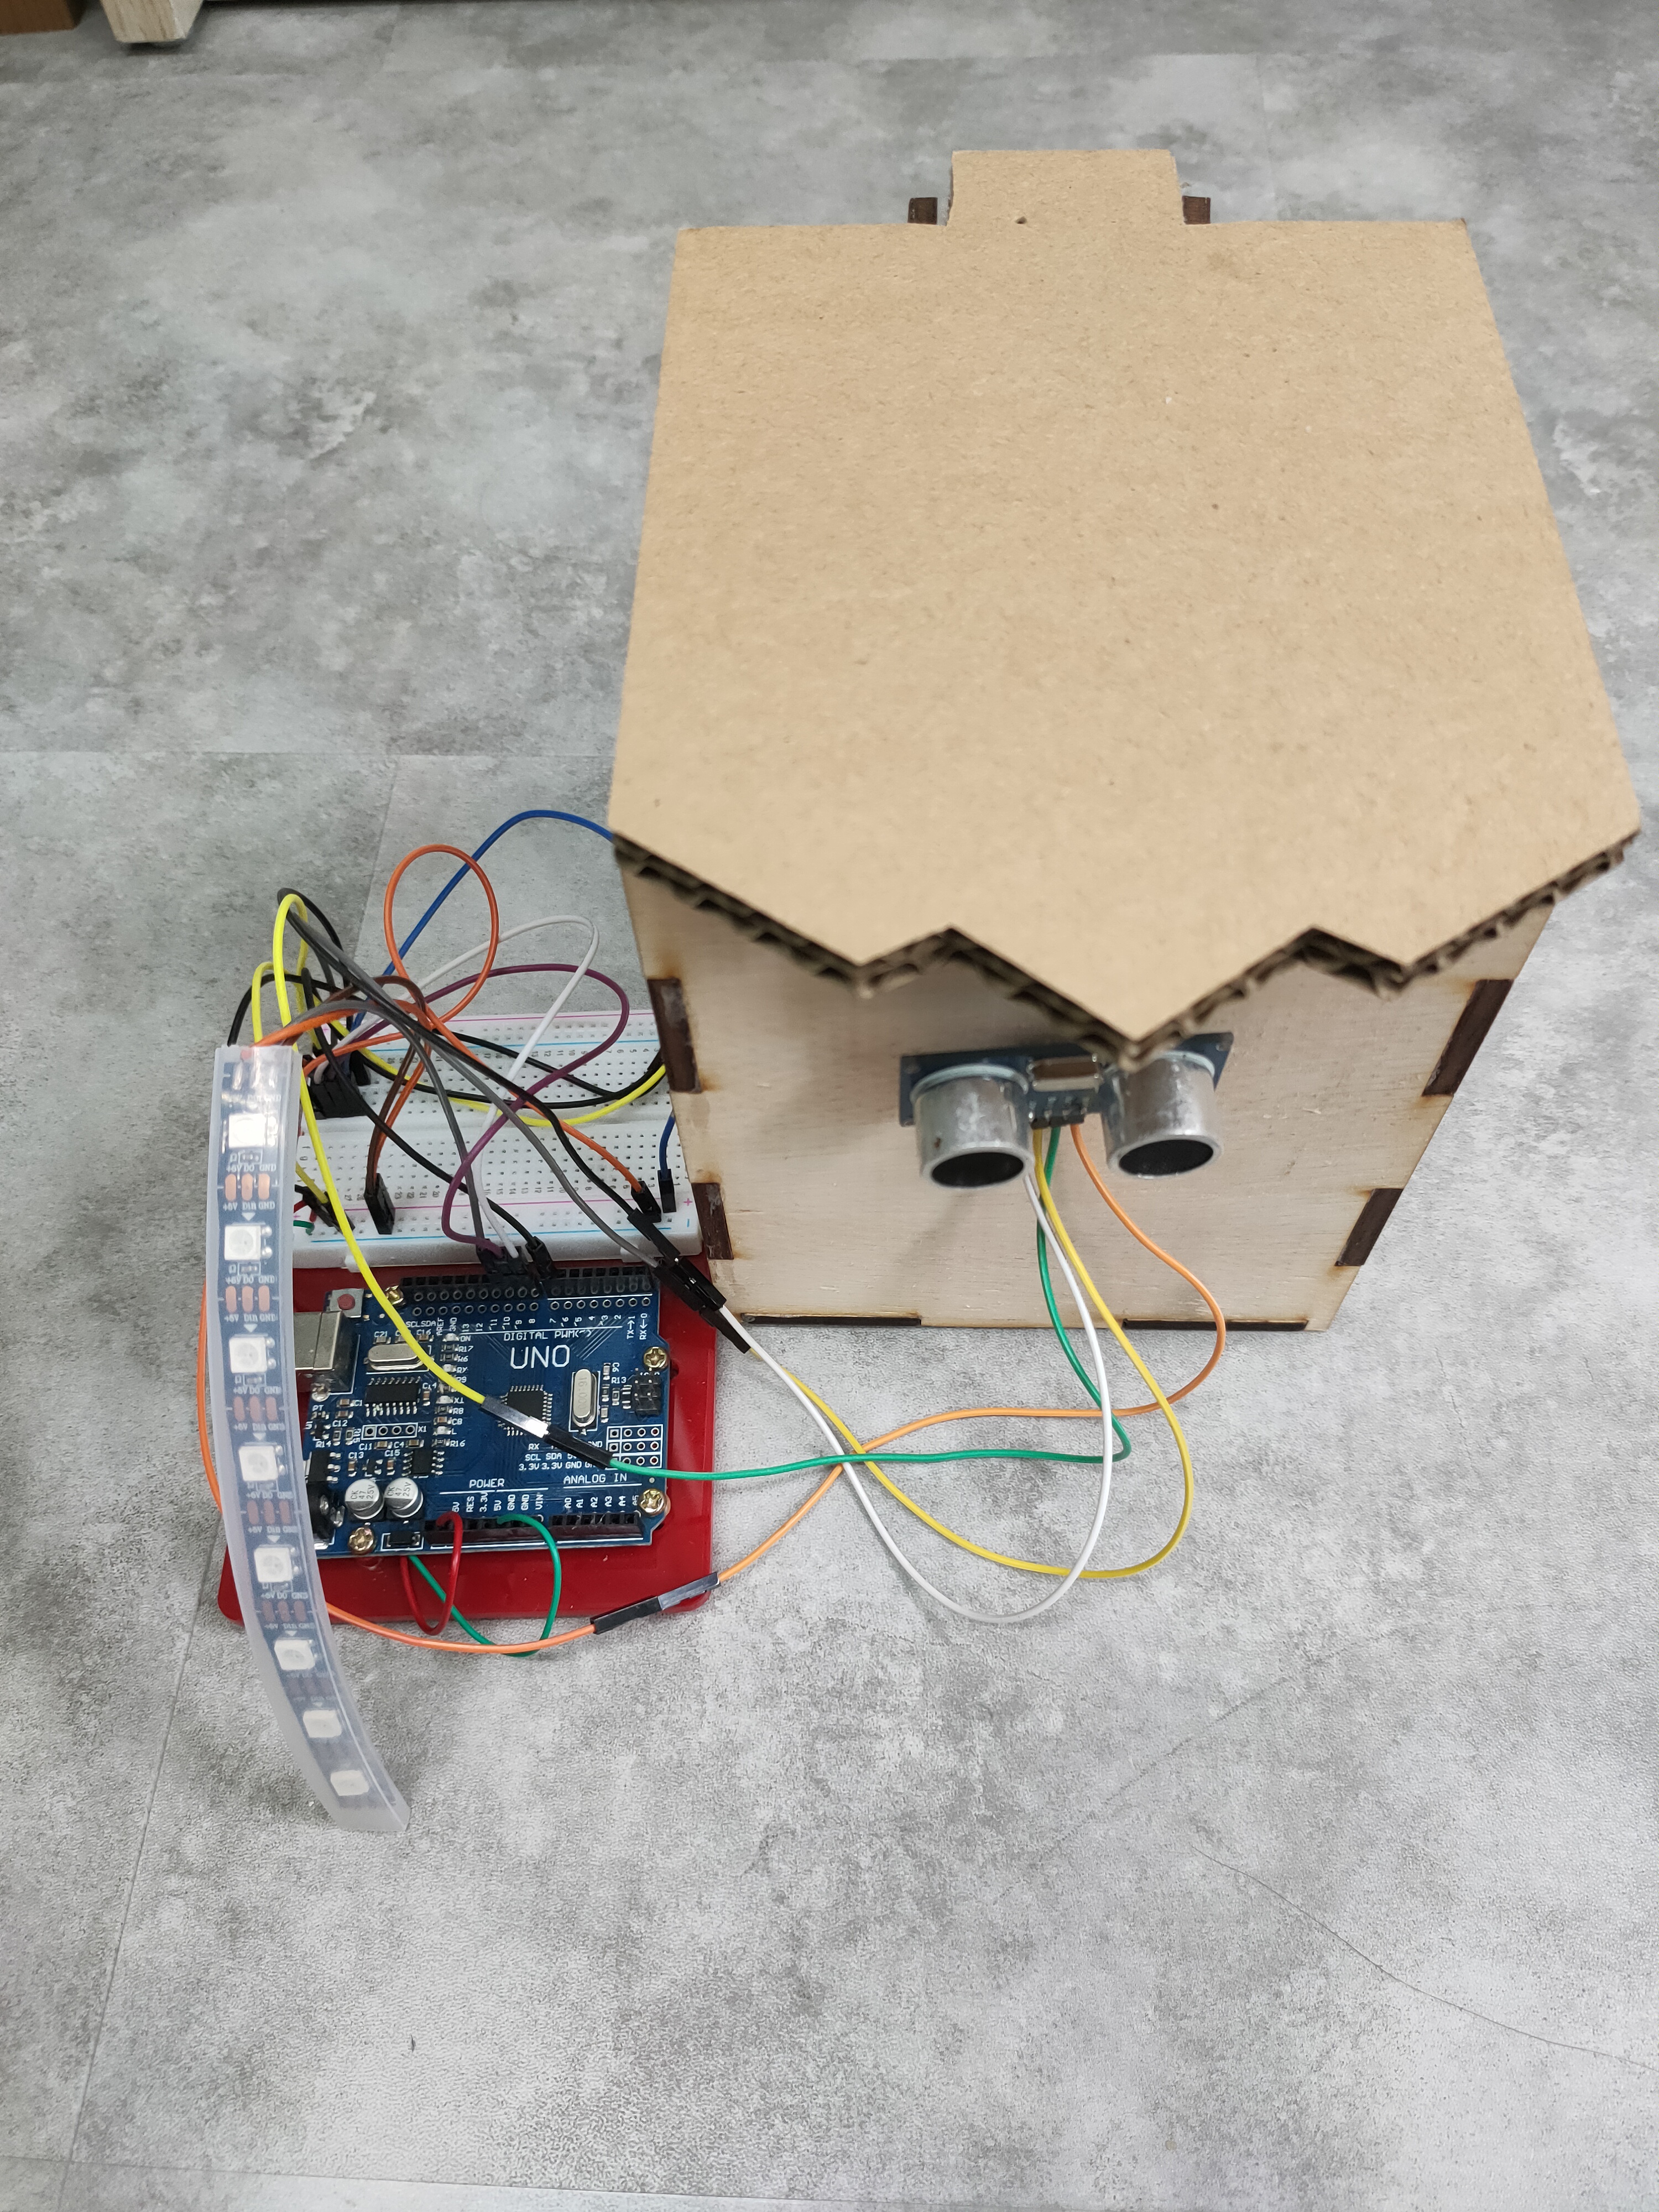
I then used blutack to place the Ultrasonic Sensor on the front of the bin.
Hero Shots
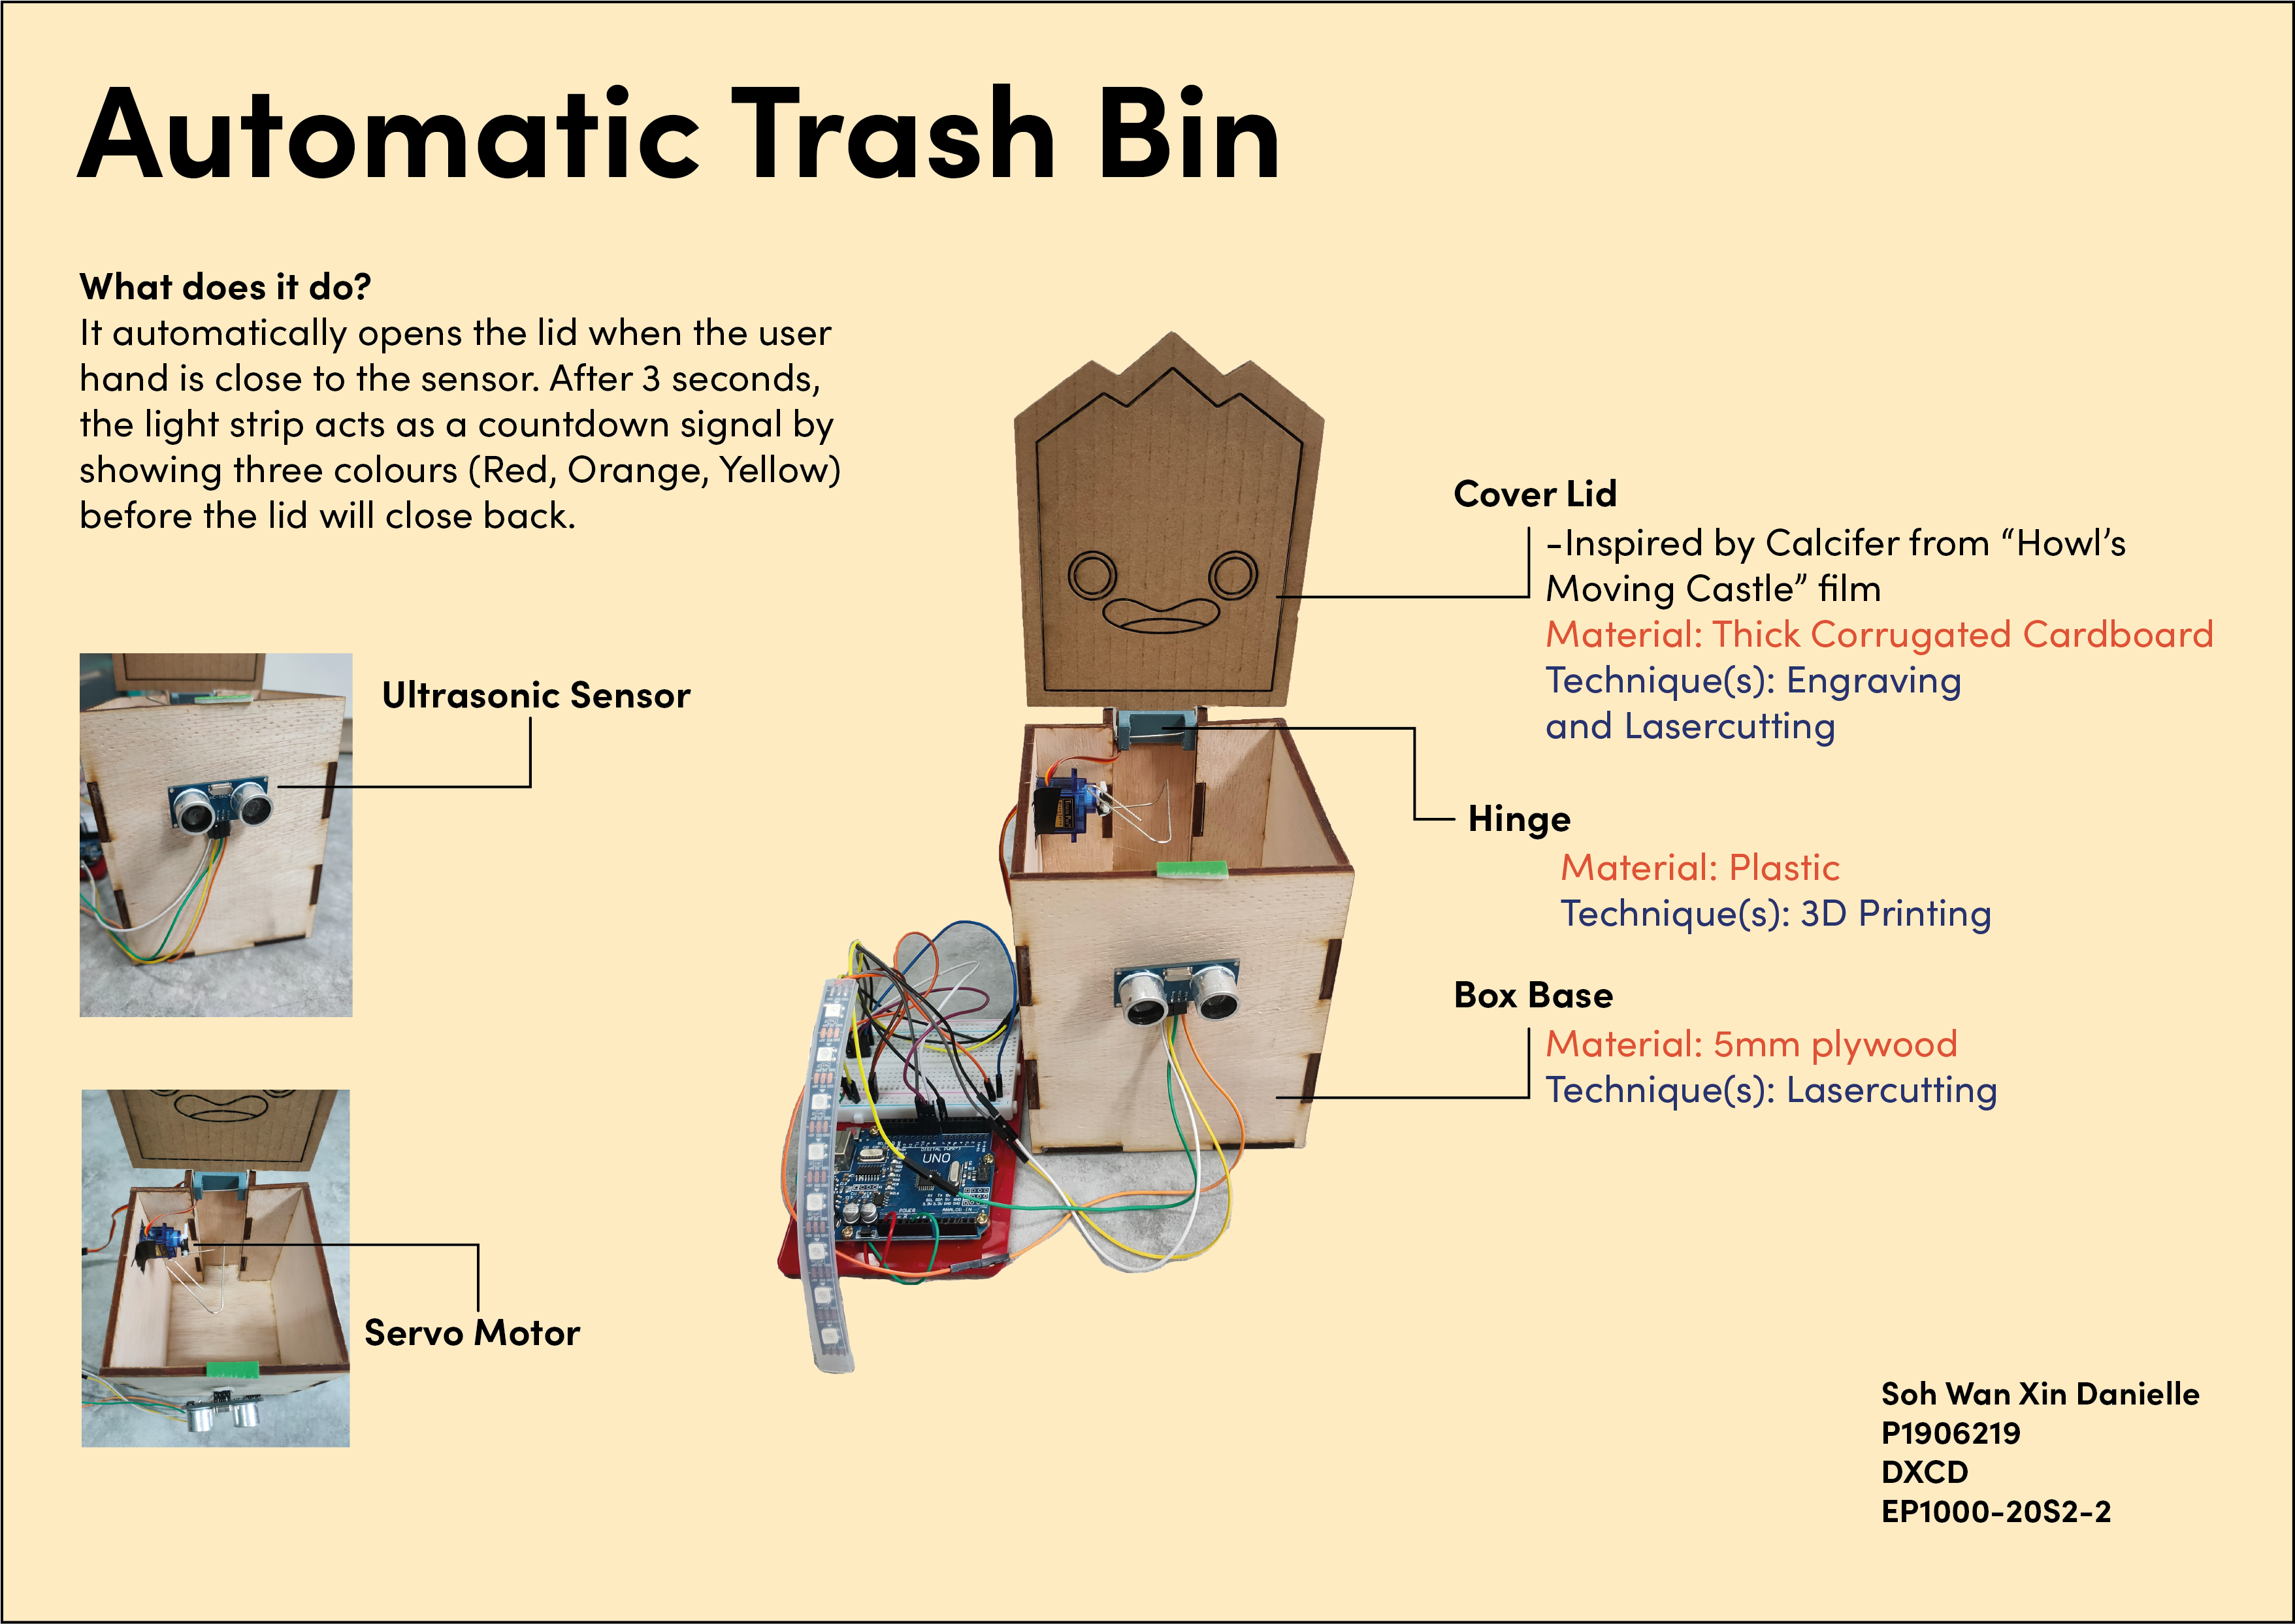
Here is my Final Project Presentation Slide:
Here is my Final Project Video:
Reflection
Initially, I had wanted to go for a more cylindrical trash bin but I was not confident in constructing it in Fusion 360.
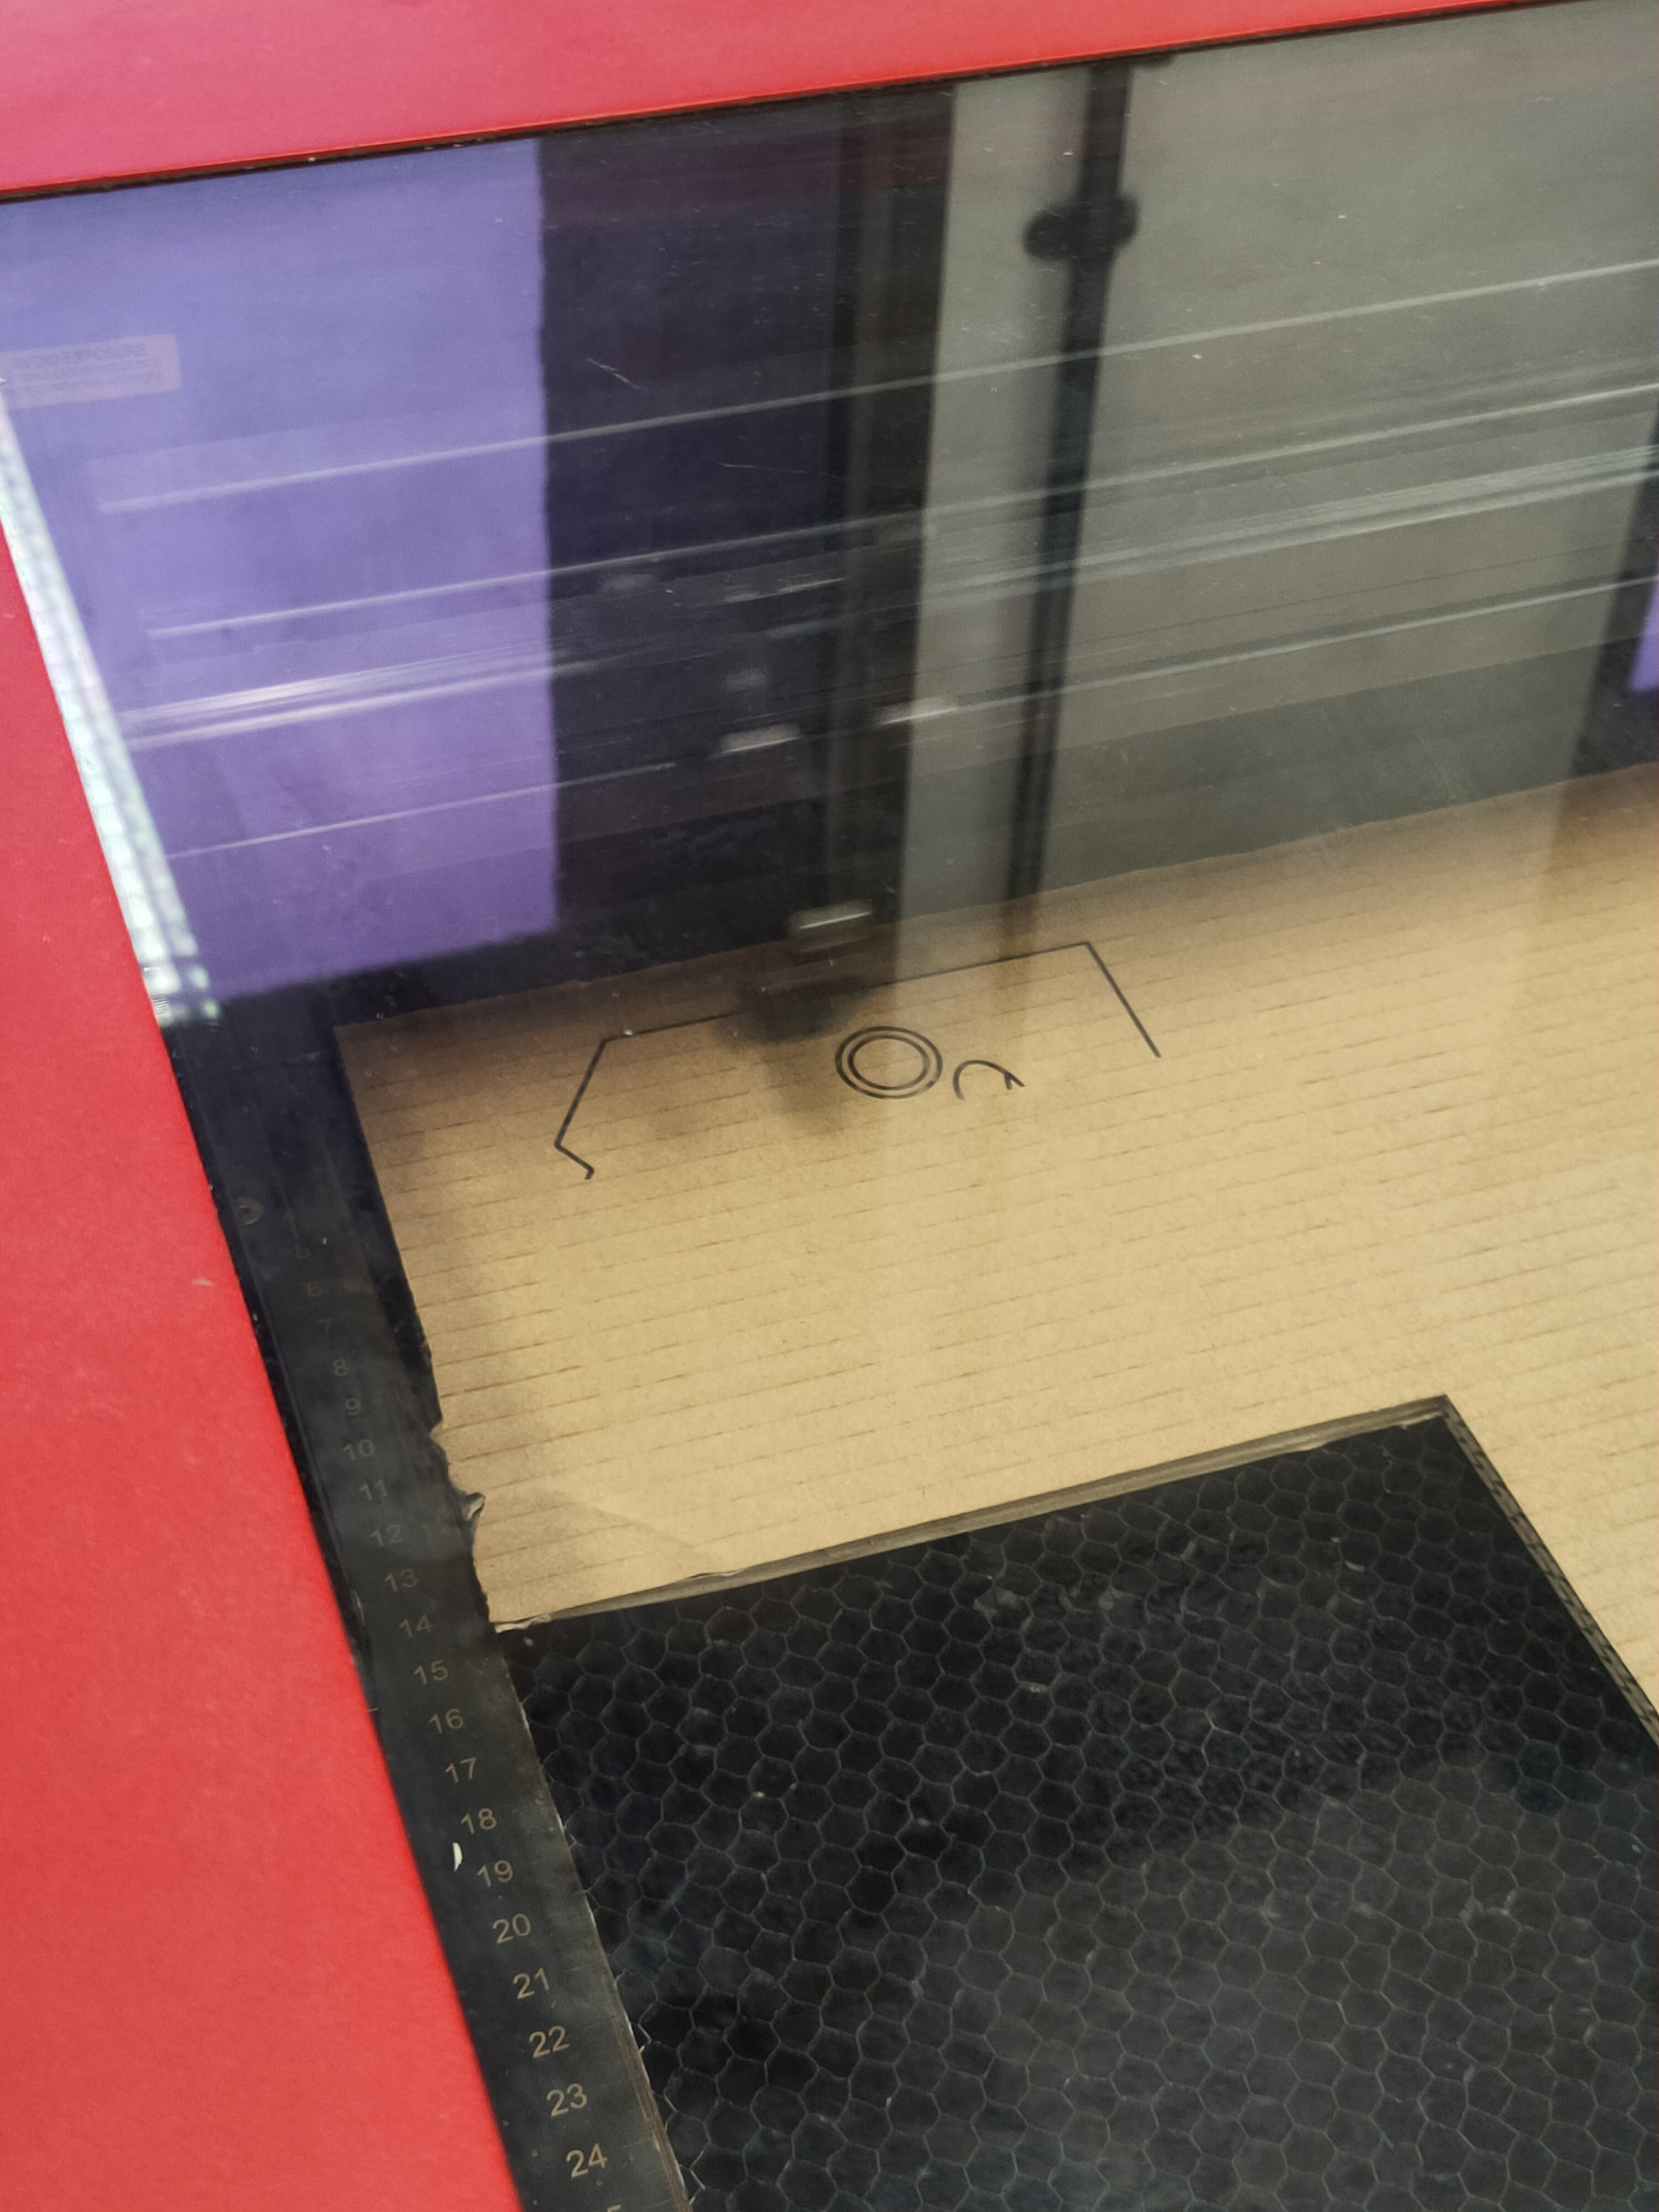
I made the decision to try making it hexagonal instead but as I tried constructing it, I underestimated its difficulty as I forgot about how it would all come together with the sides all at an angle. Below is the attempt at making a hexagonal box instead:
I also learnt the hard way of being careless with taking out the plastic material in the hinge part. As I was using a flat screwdriver to dig it out, I had used too much force and it cause a cut on my finger. I should have been more careful, especially in trying to handle something tiny as the hinge part.
Although the final project is a success, I still do think I could have organised my components better as it is quite messy. Overall, I am very content with my final project :D